Happily Ever Delicious
The Great British Bake Off

Collection One

This page contains my previous bakes. They are in chronological order from most recent to oldest. Current week's bakes will be located on the Home page. 
Collection One Episode Two

3D Biscuit Sculpture

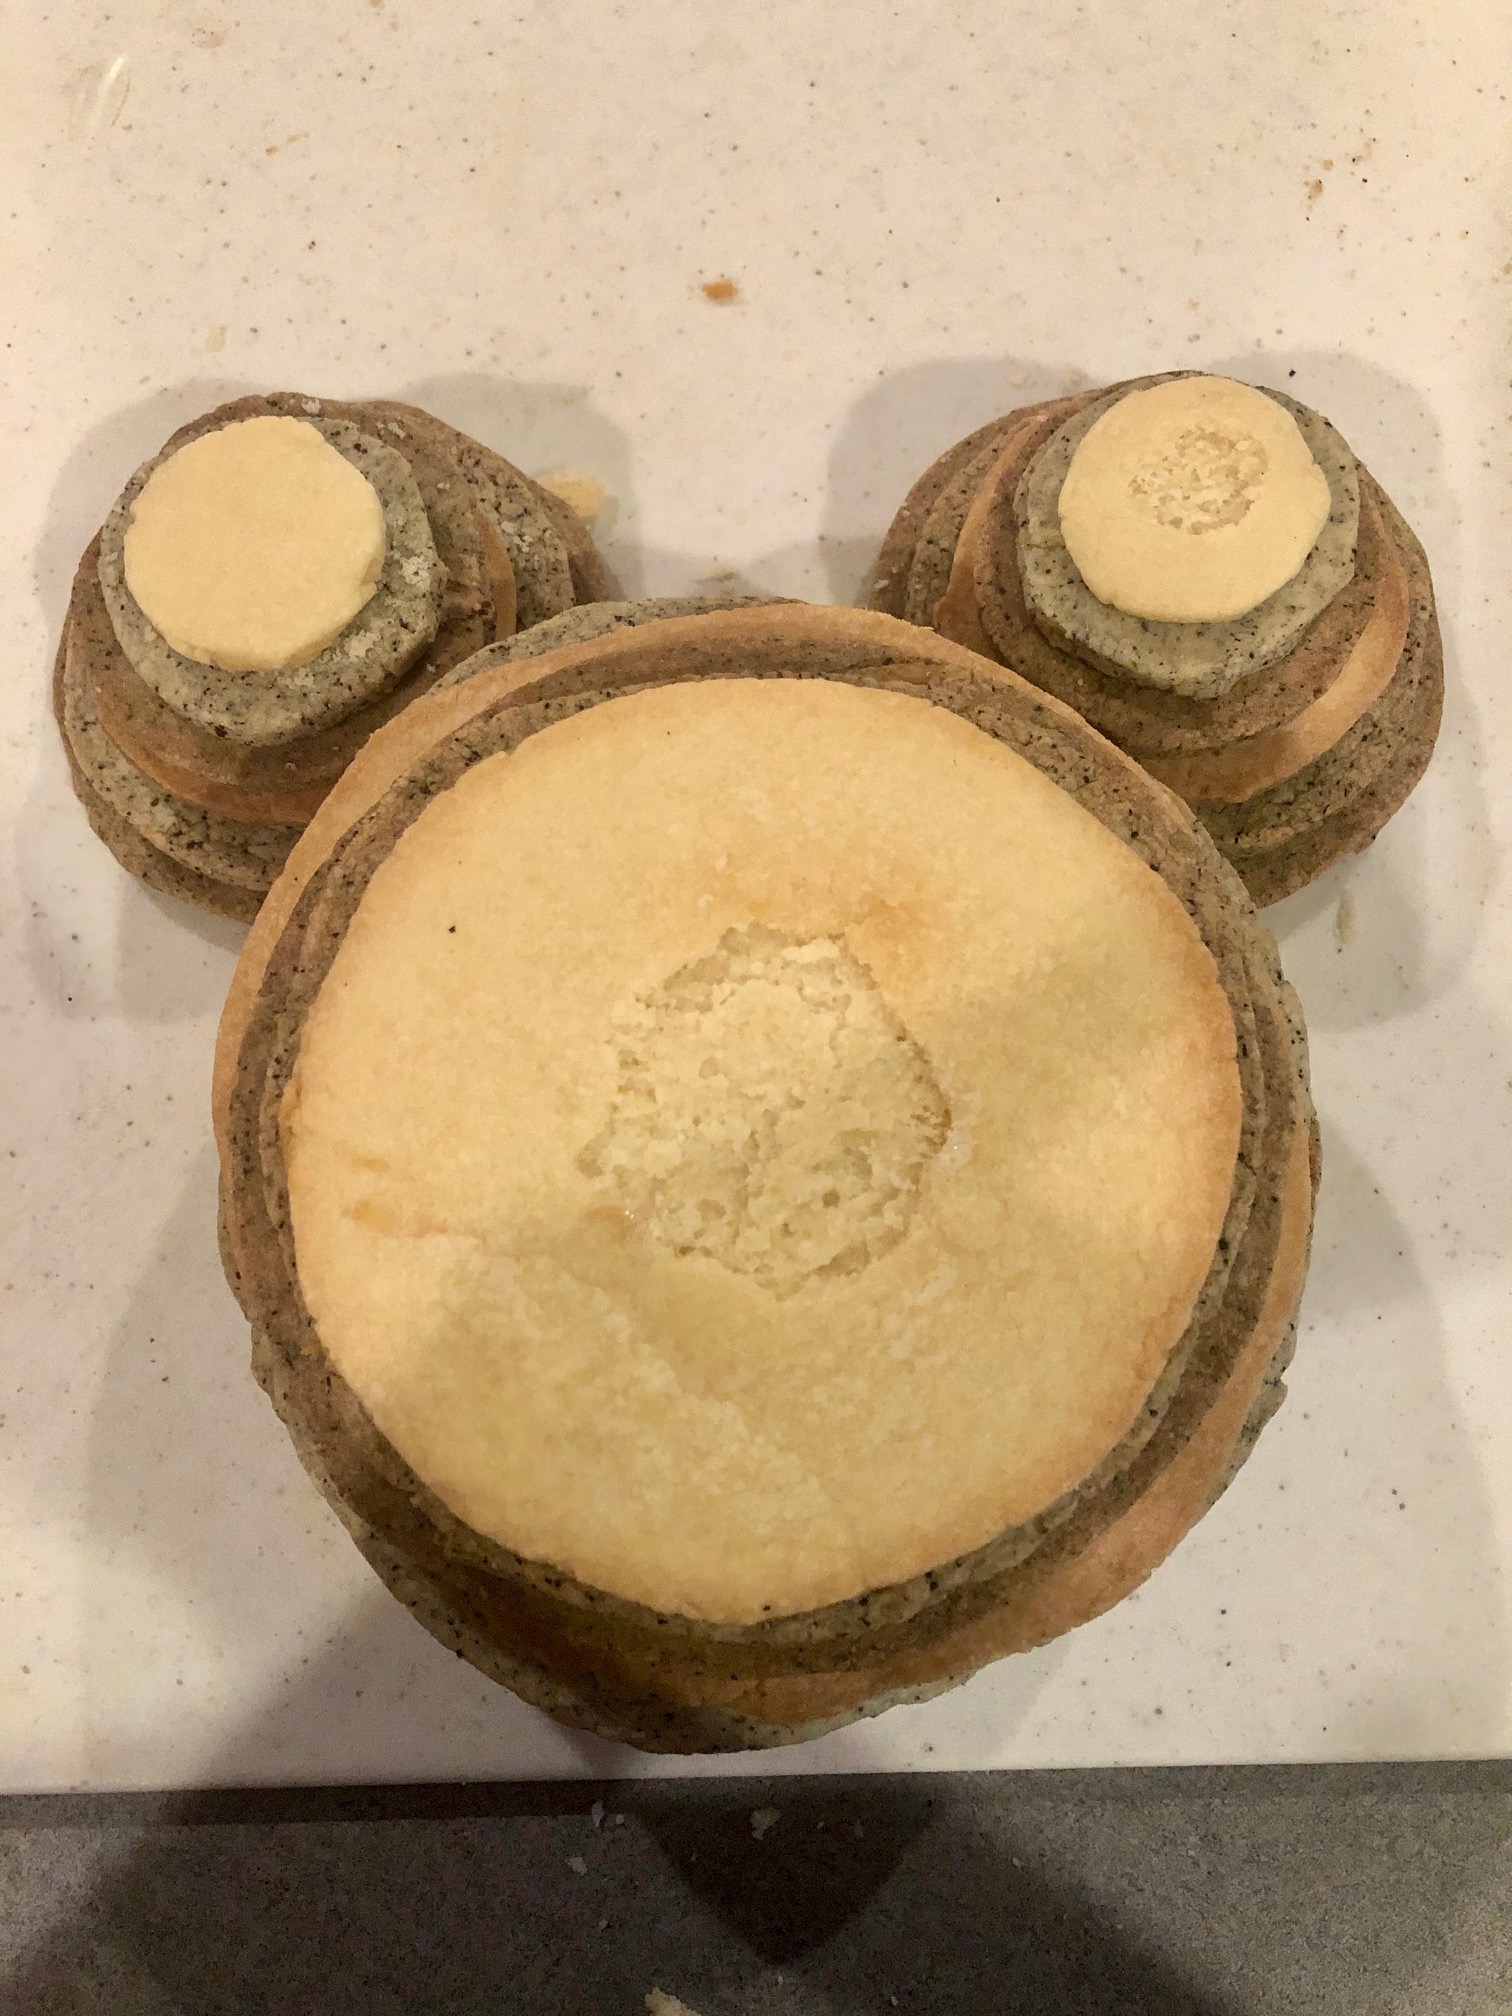
You know those times where you have this absolutely great idea in your mind, and if it’s executed well, it’ll be amazing? That was me with this Showstopper Bake for Biscuit Week. The contestants were tasked with making a 3D Sculpture out of biscuits. Well, with my love of Disney I thought it would be fun to create a Mickey head out of biscuits. It did not work. I am no engineer and that was obvious when I got it all together.
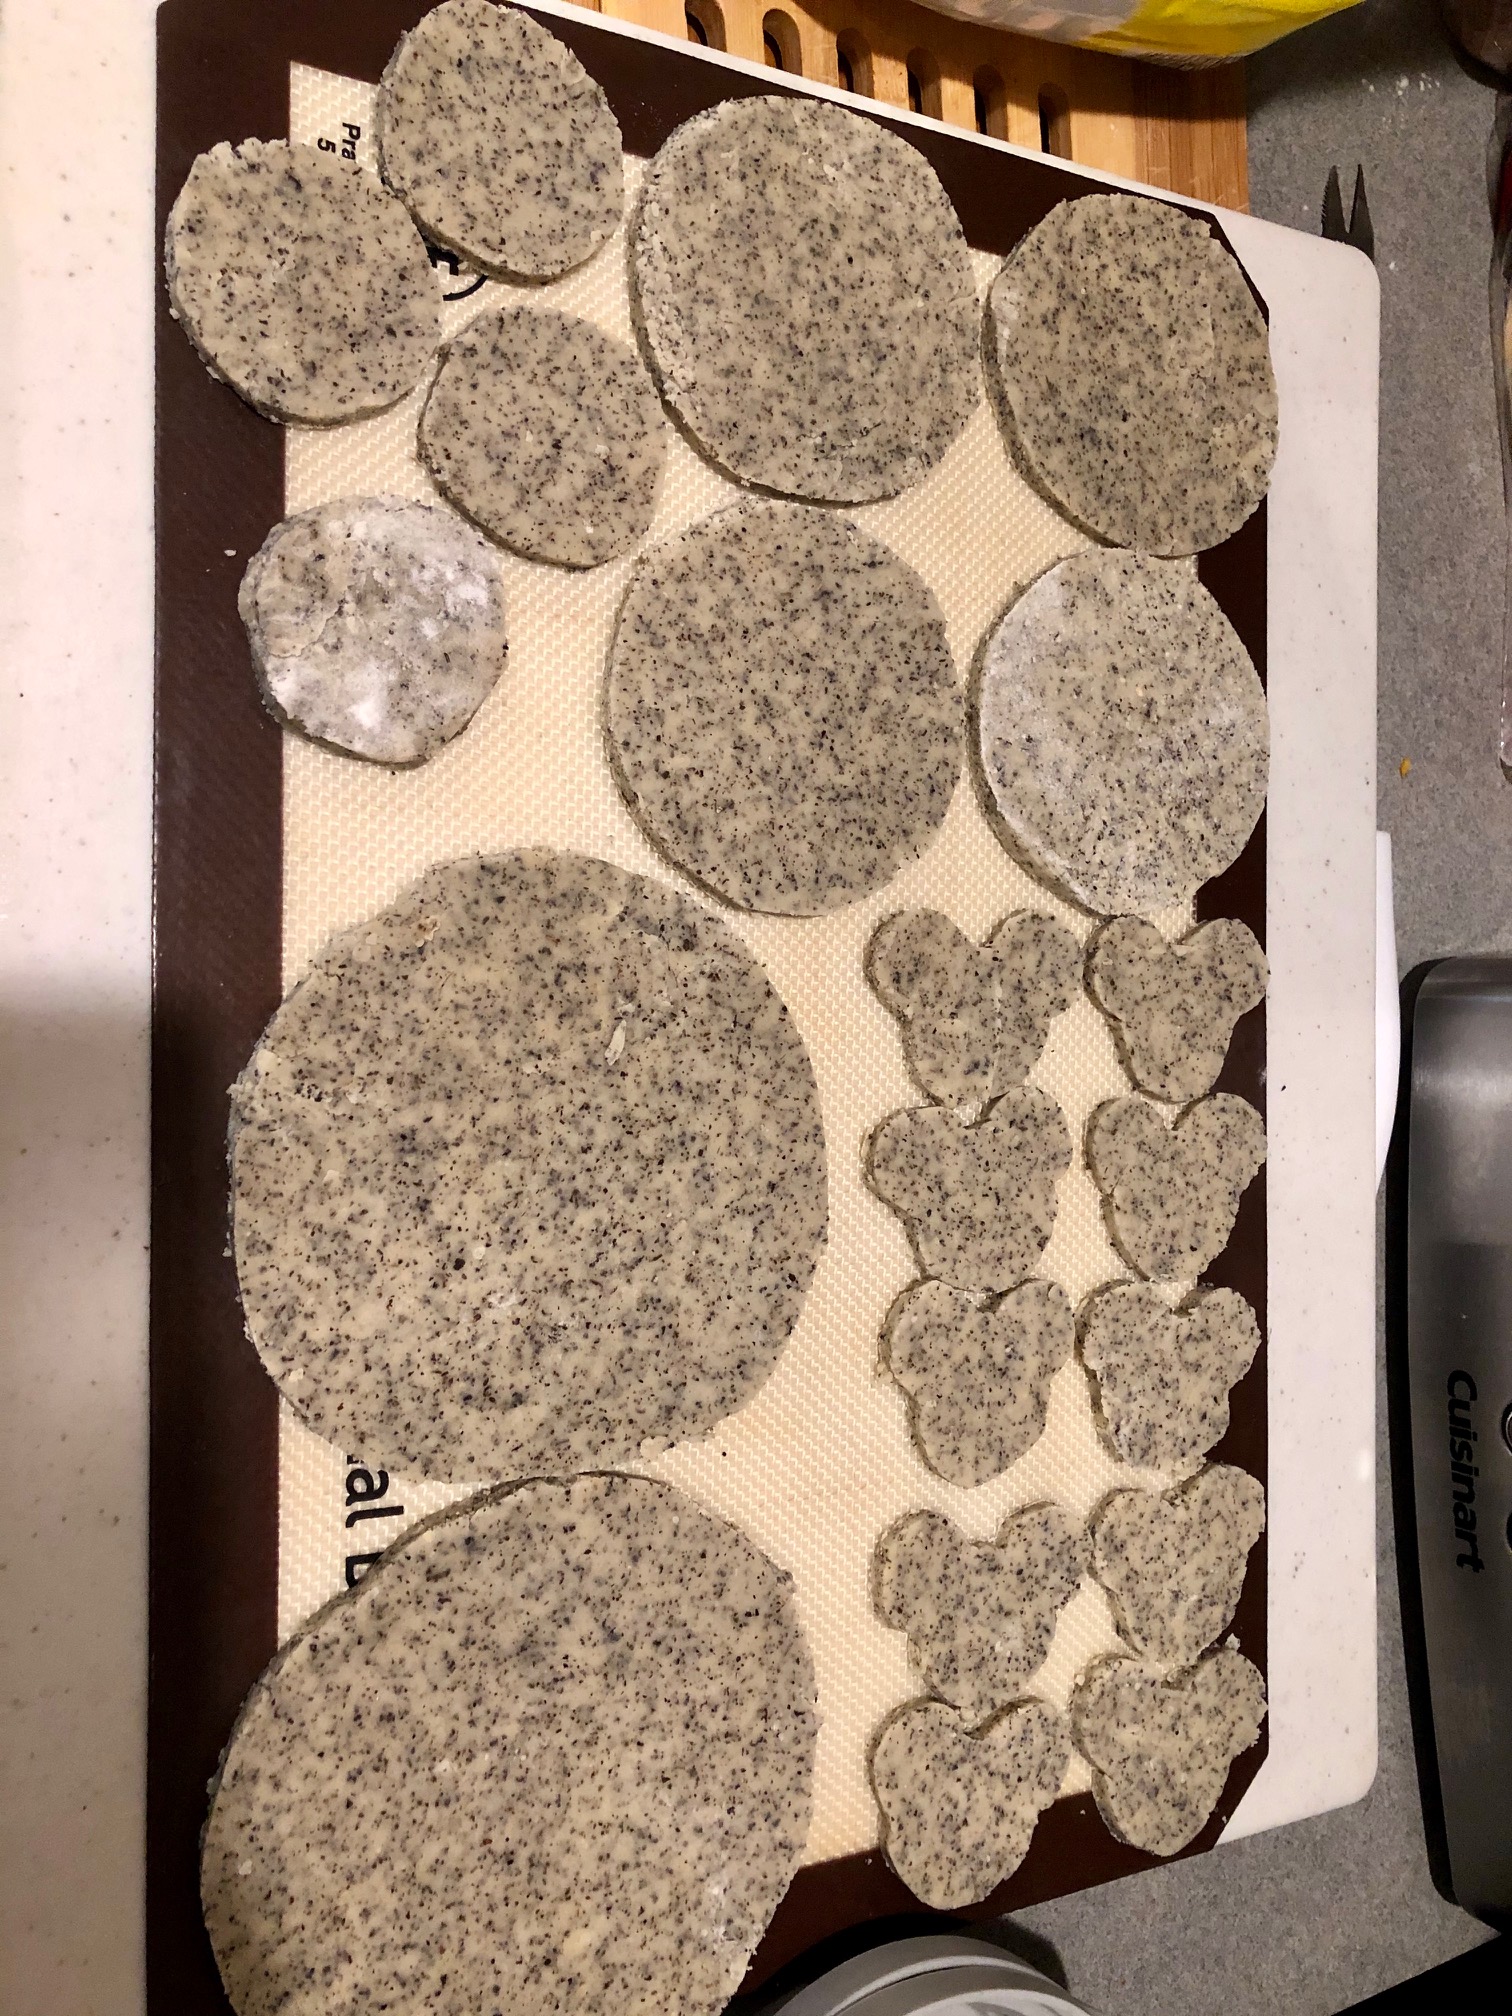
I decided to do three types of shortbread biscuits for the sculpture: Indian Chai, Plain, and Earl Grey. I have made these biscuits before as just simple medallions so I knew the recipes and will post them below. I began by cutting out the circles on parchment paper, then made my doughs, cut out the correct sizes, and refrigerated them for 20 minutes before baking. The biscuits turned out great! Full of flavor, they had a wonderful snap to them. Construction was where it all went to h-e-double toothpicks. To begin with, I didn’t make enough biscuits for two ears. Then, the size of the biscuits was just not correct. They ranged from 1” to 6.5”, with the thought that I would stack them on either side of the largest. As I said, I’m no engineer and had not taken the weight of all those biscuits into consideration. They were so heavy that it was crushing the biscuits on the bottom.
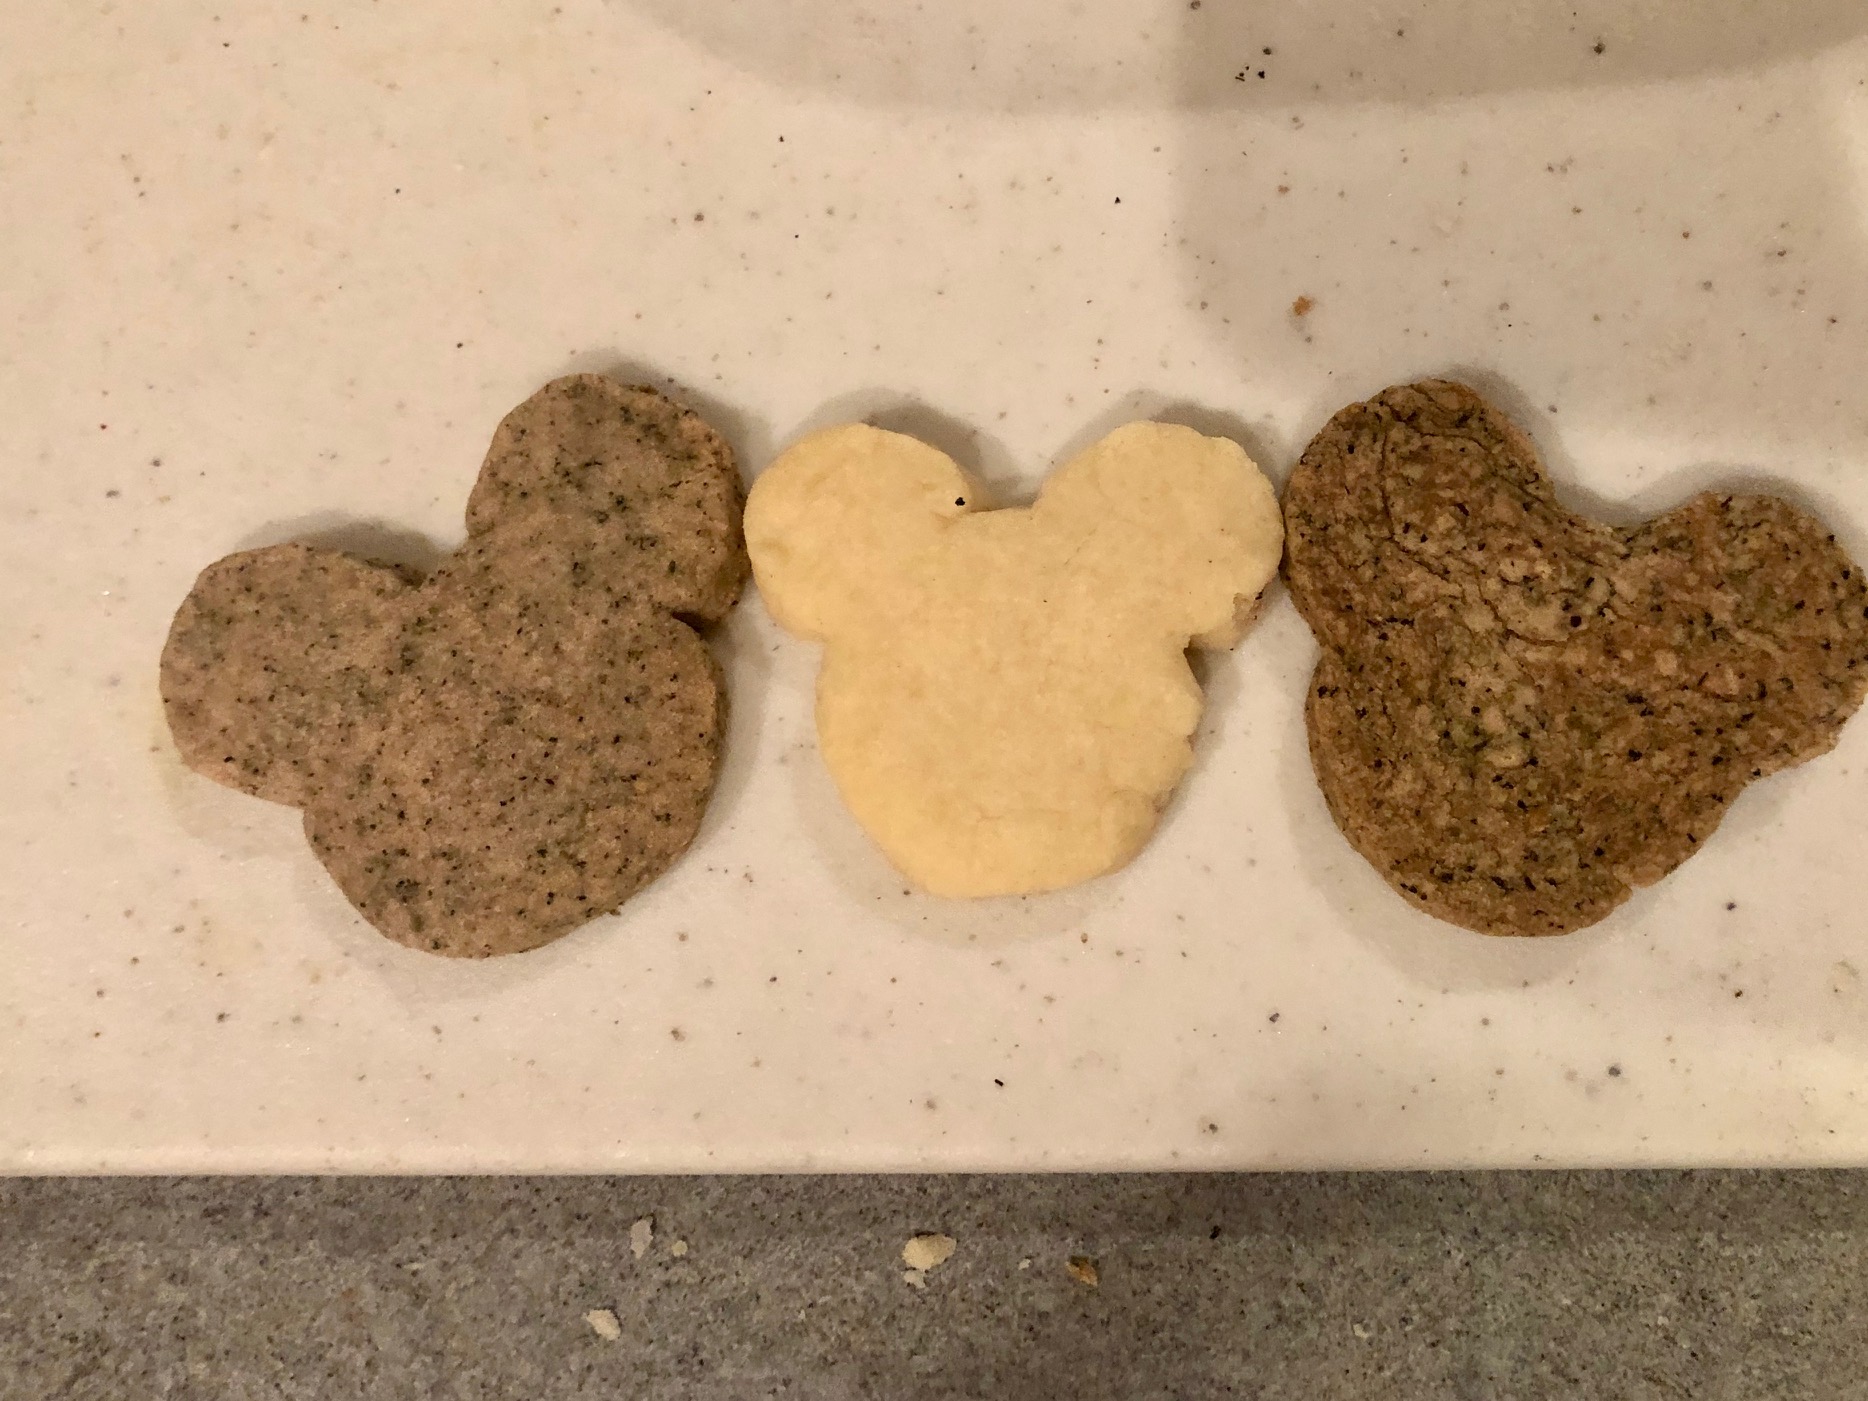
I might try this again, maybe with just plain shortbread and try to just make a Mickey ears hat, like the ones you get with your name embroidered on the back. I did cut out some cute Mickey biscuits though!
I probably would have been sent home this week if I had been on the show. But here’s to getting better!
P.S: Sorry for the lack of photos. Got really into the baking and forgot to take photos along the way.

Basic Shortbread Ingredients

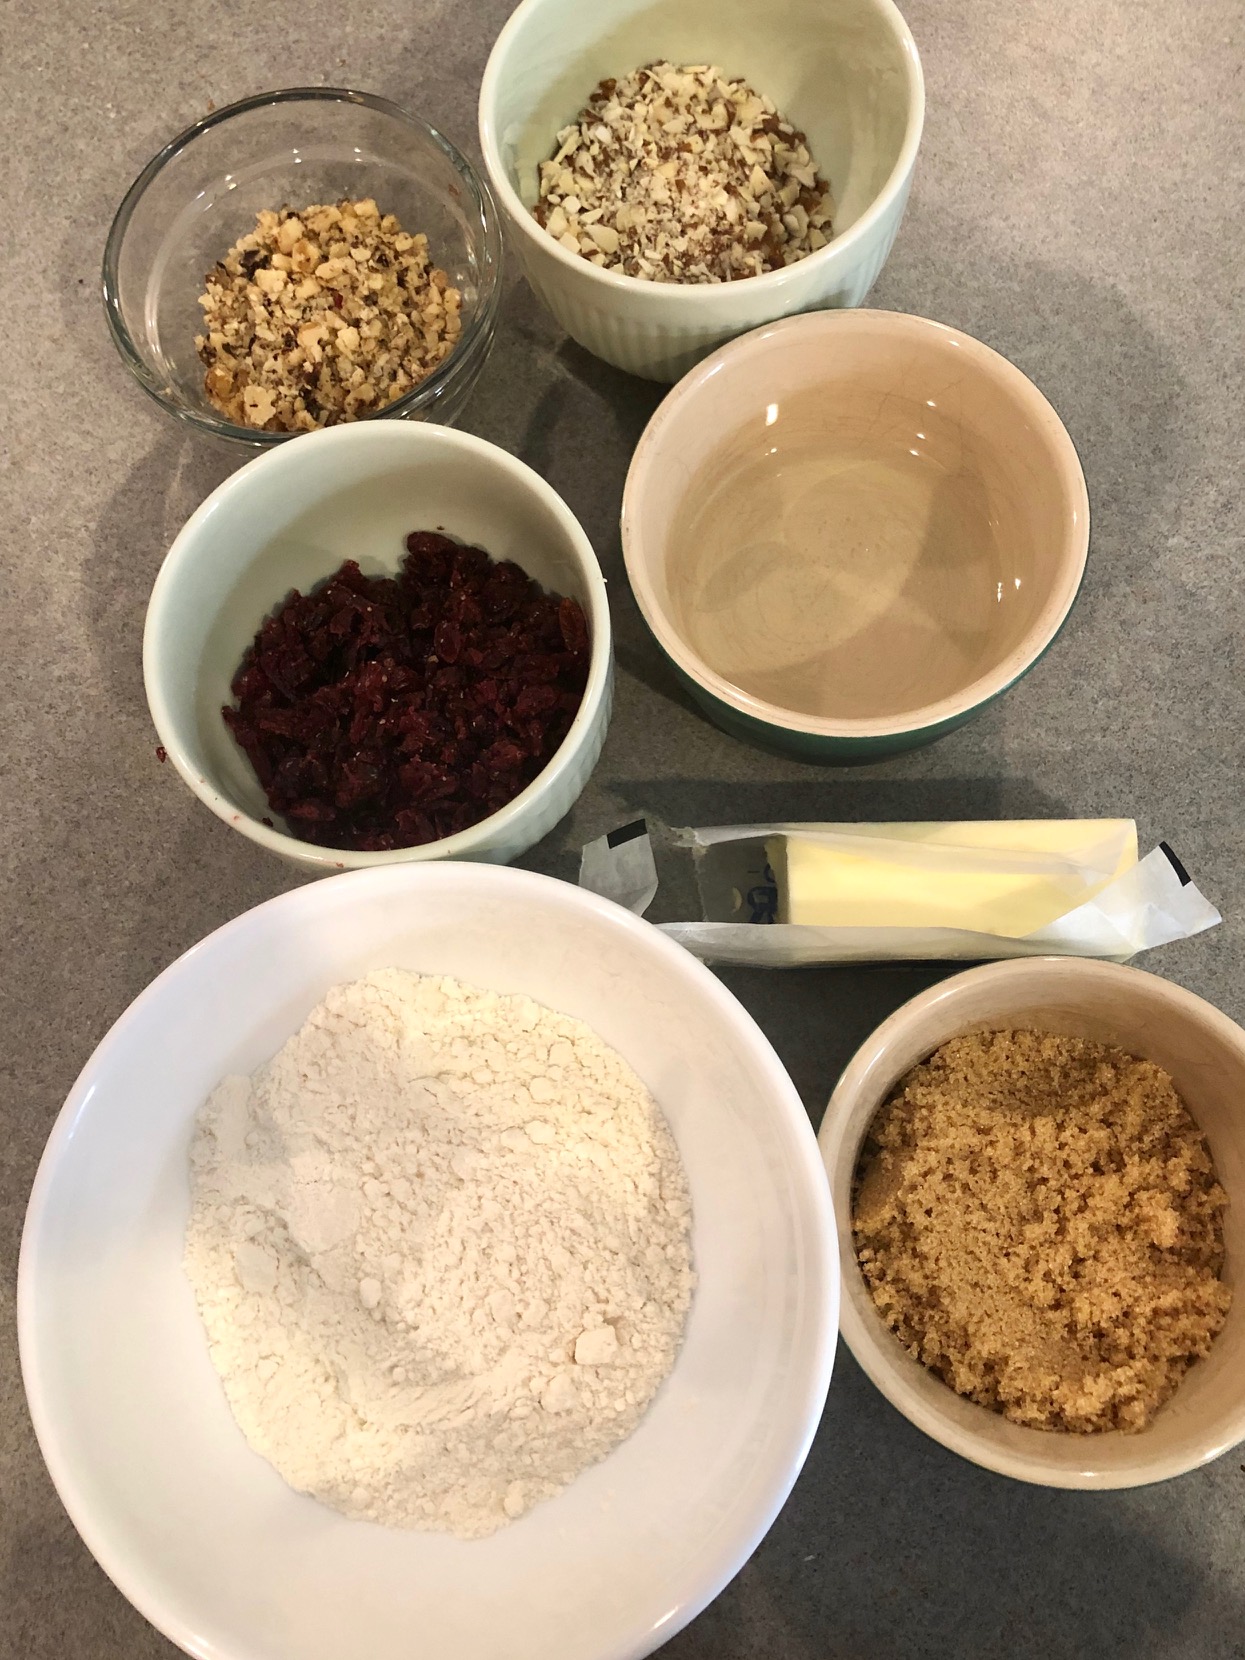
These few ingredients created the base for each shortbread I made. For two of them I added some extra ingredients. Earl Grey had five tea packets and another tablespoon of flour and the Chai had three Irish Breakfast tea packets and a mix of spices.

Earl Grey Cut Out Biscuits

These are the Earl Grey ones cut out and heading to the fridge to chill before baking. Always, always, always chill before baking!

Mickey Mouse's Head

Here's how Mickey's head turned out. This is an aerial view and you can see where the top broke off. Oh well, maybe next time!

Little Mickey Biscuits

These ended up being so cute and were so yummy! I recommend trying the recipe below. I personally don't like matcha, but that's another one of the recipes on there.

Collection One Episode Two

Florentines

This was not my week. Not only did my Showstopper flop, I would have come in dead last for this technical challenge. These Florentines weren’t hard per se, besides coating the bottoms in chocolate. I just made them way too big and so I did not have the 18 that were needed.
This recipe came from Mary Berry and was simple enough. You begin by melting the butter, sugar, and syrup together in a saucepan, then remove it from the heat and stir in the rest of the ingredients minus the chocolate. My problem came with portioning them and that is because I didn’t read the directions. ALWAYS READ THE DIRECTIONS FIRST. Twice if you need to. I missed the part where she says to have them be a teaspoon each. This is appropriate because they SPREAD. Very much so. Since they were so big, this made everything else mildly harder. They were limp in the middle because the sides were already browning and putting the chocolate on with the zigzags was nearly impossible with their size. All in all, they tasted good, looked terrible.
I’ll more than likely re-make these. My baking is supposed to improve throughout this adventure, and I’m definitely learning from my mistakes. For now though, enjoy the pictures of my gigantic Florentines.

All Ingredients Together

For this recipe I only used dried cranberries, almonds, and walnuts as the mix-ins.

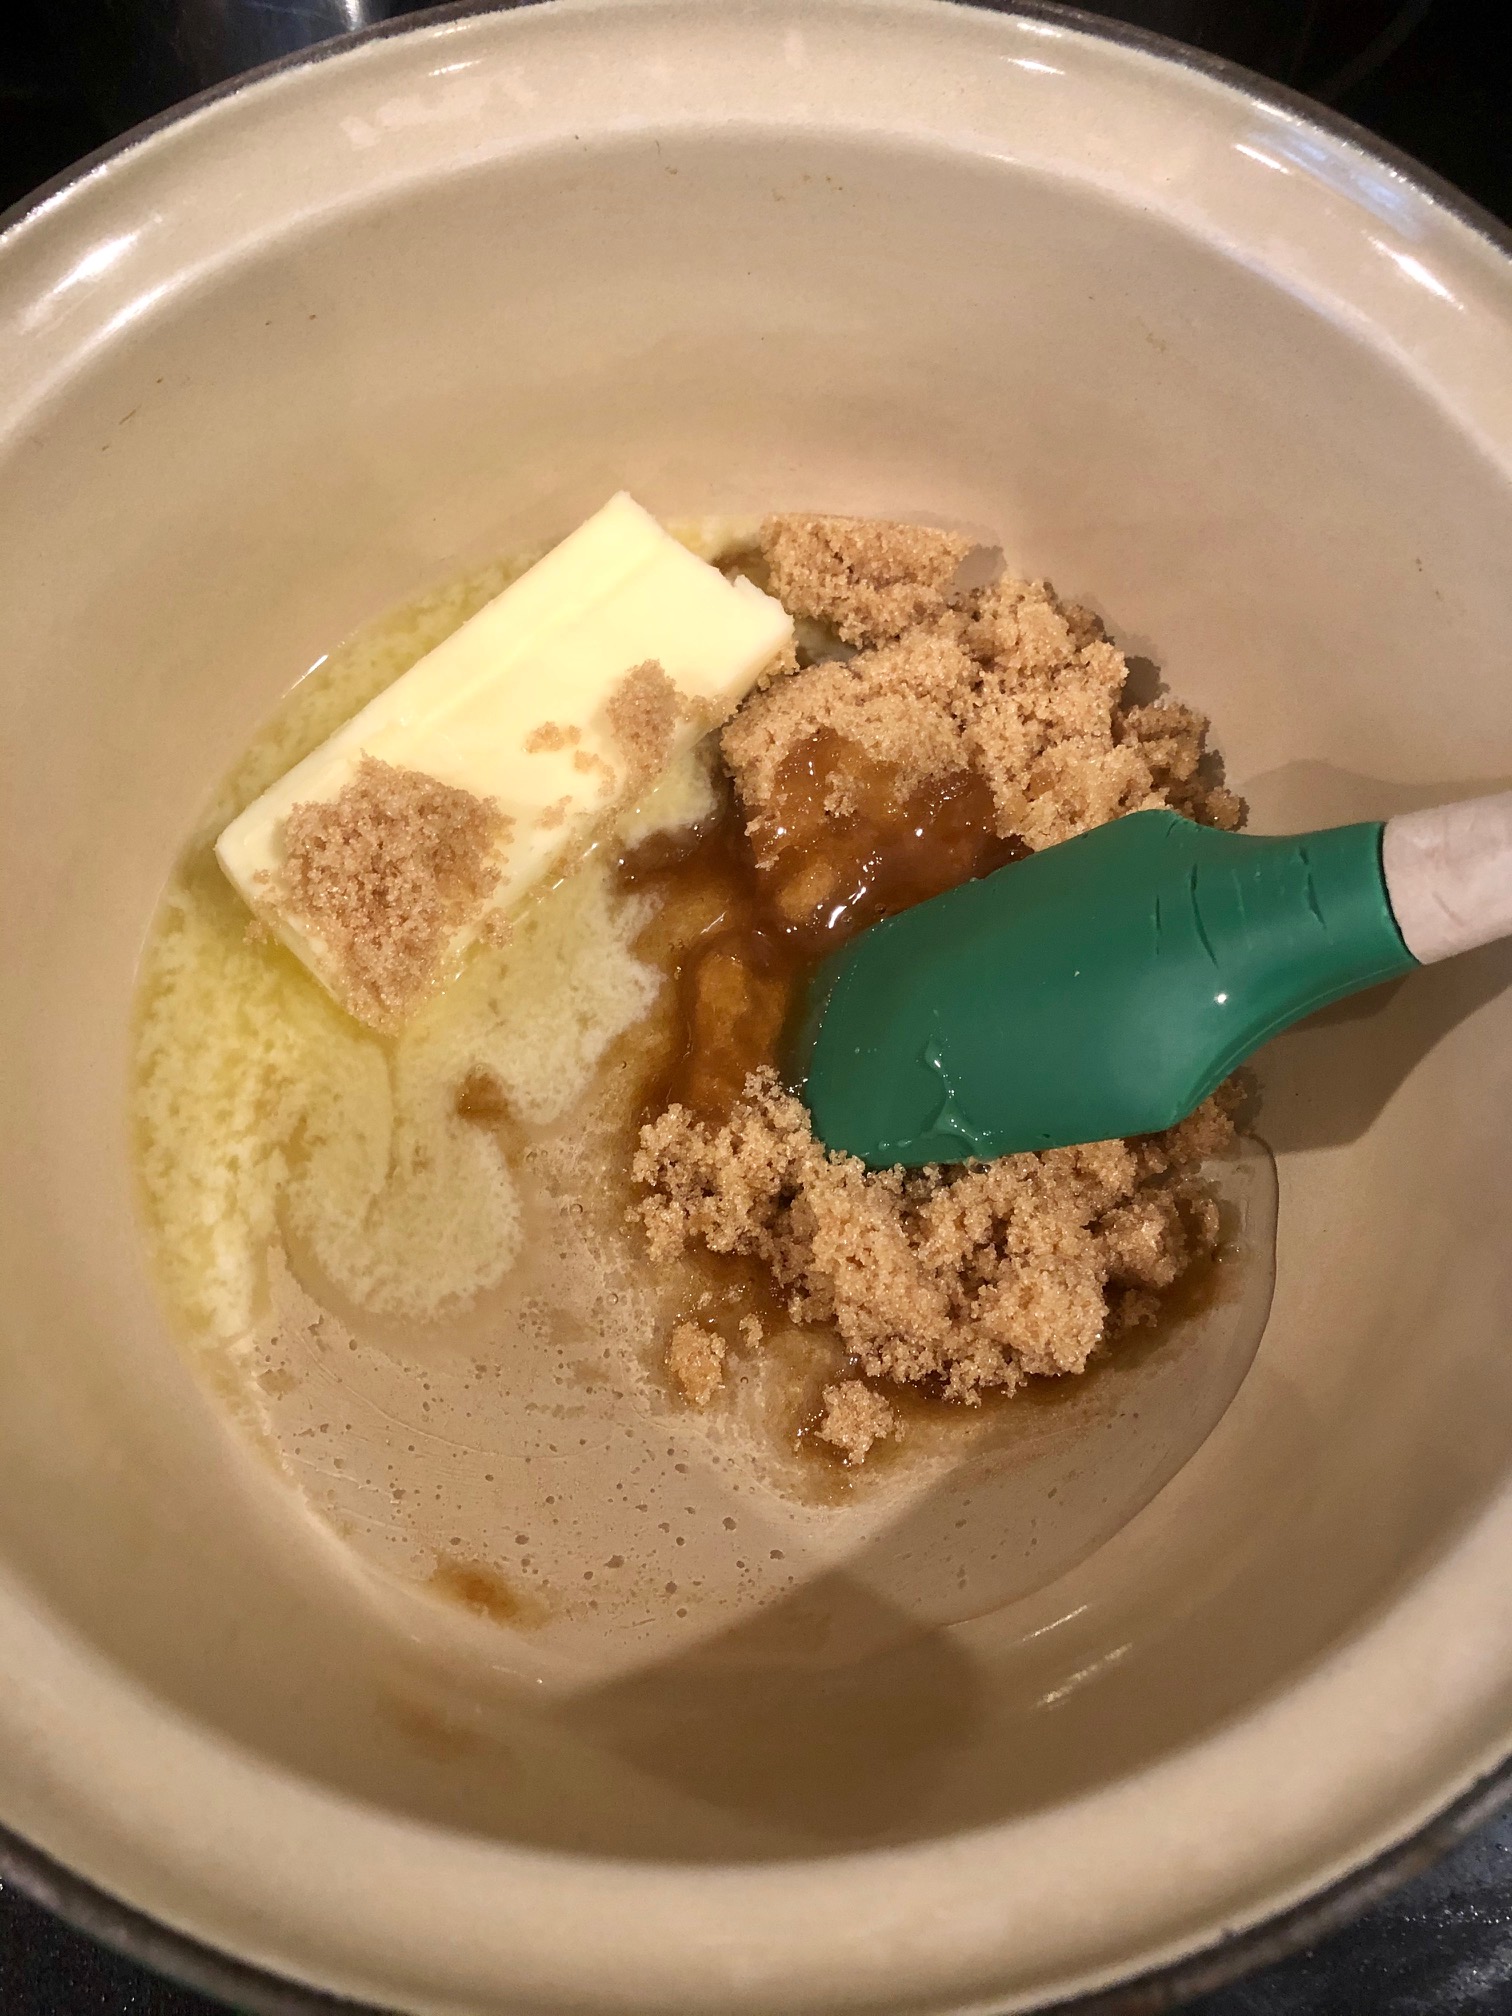
Melting

Begin by melting butter, brown sugar (I used this instead of the demerara sugar) and corn syrup (I used this instead of golden syrup because I could not find it).

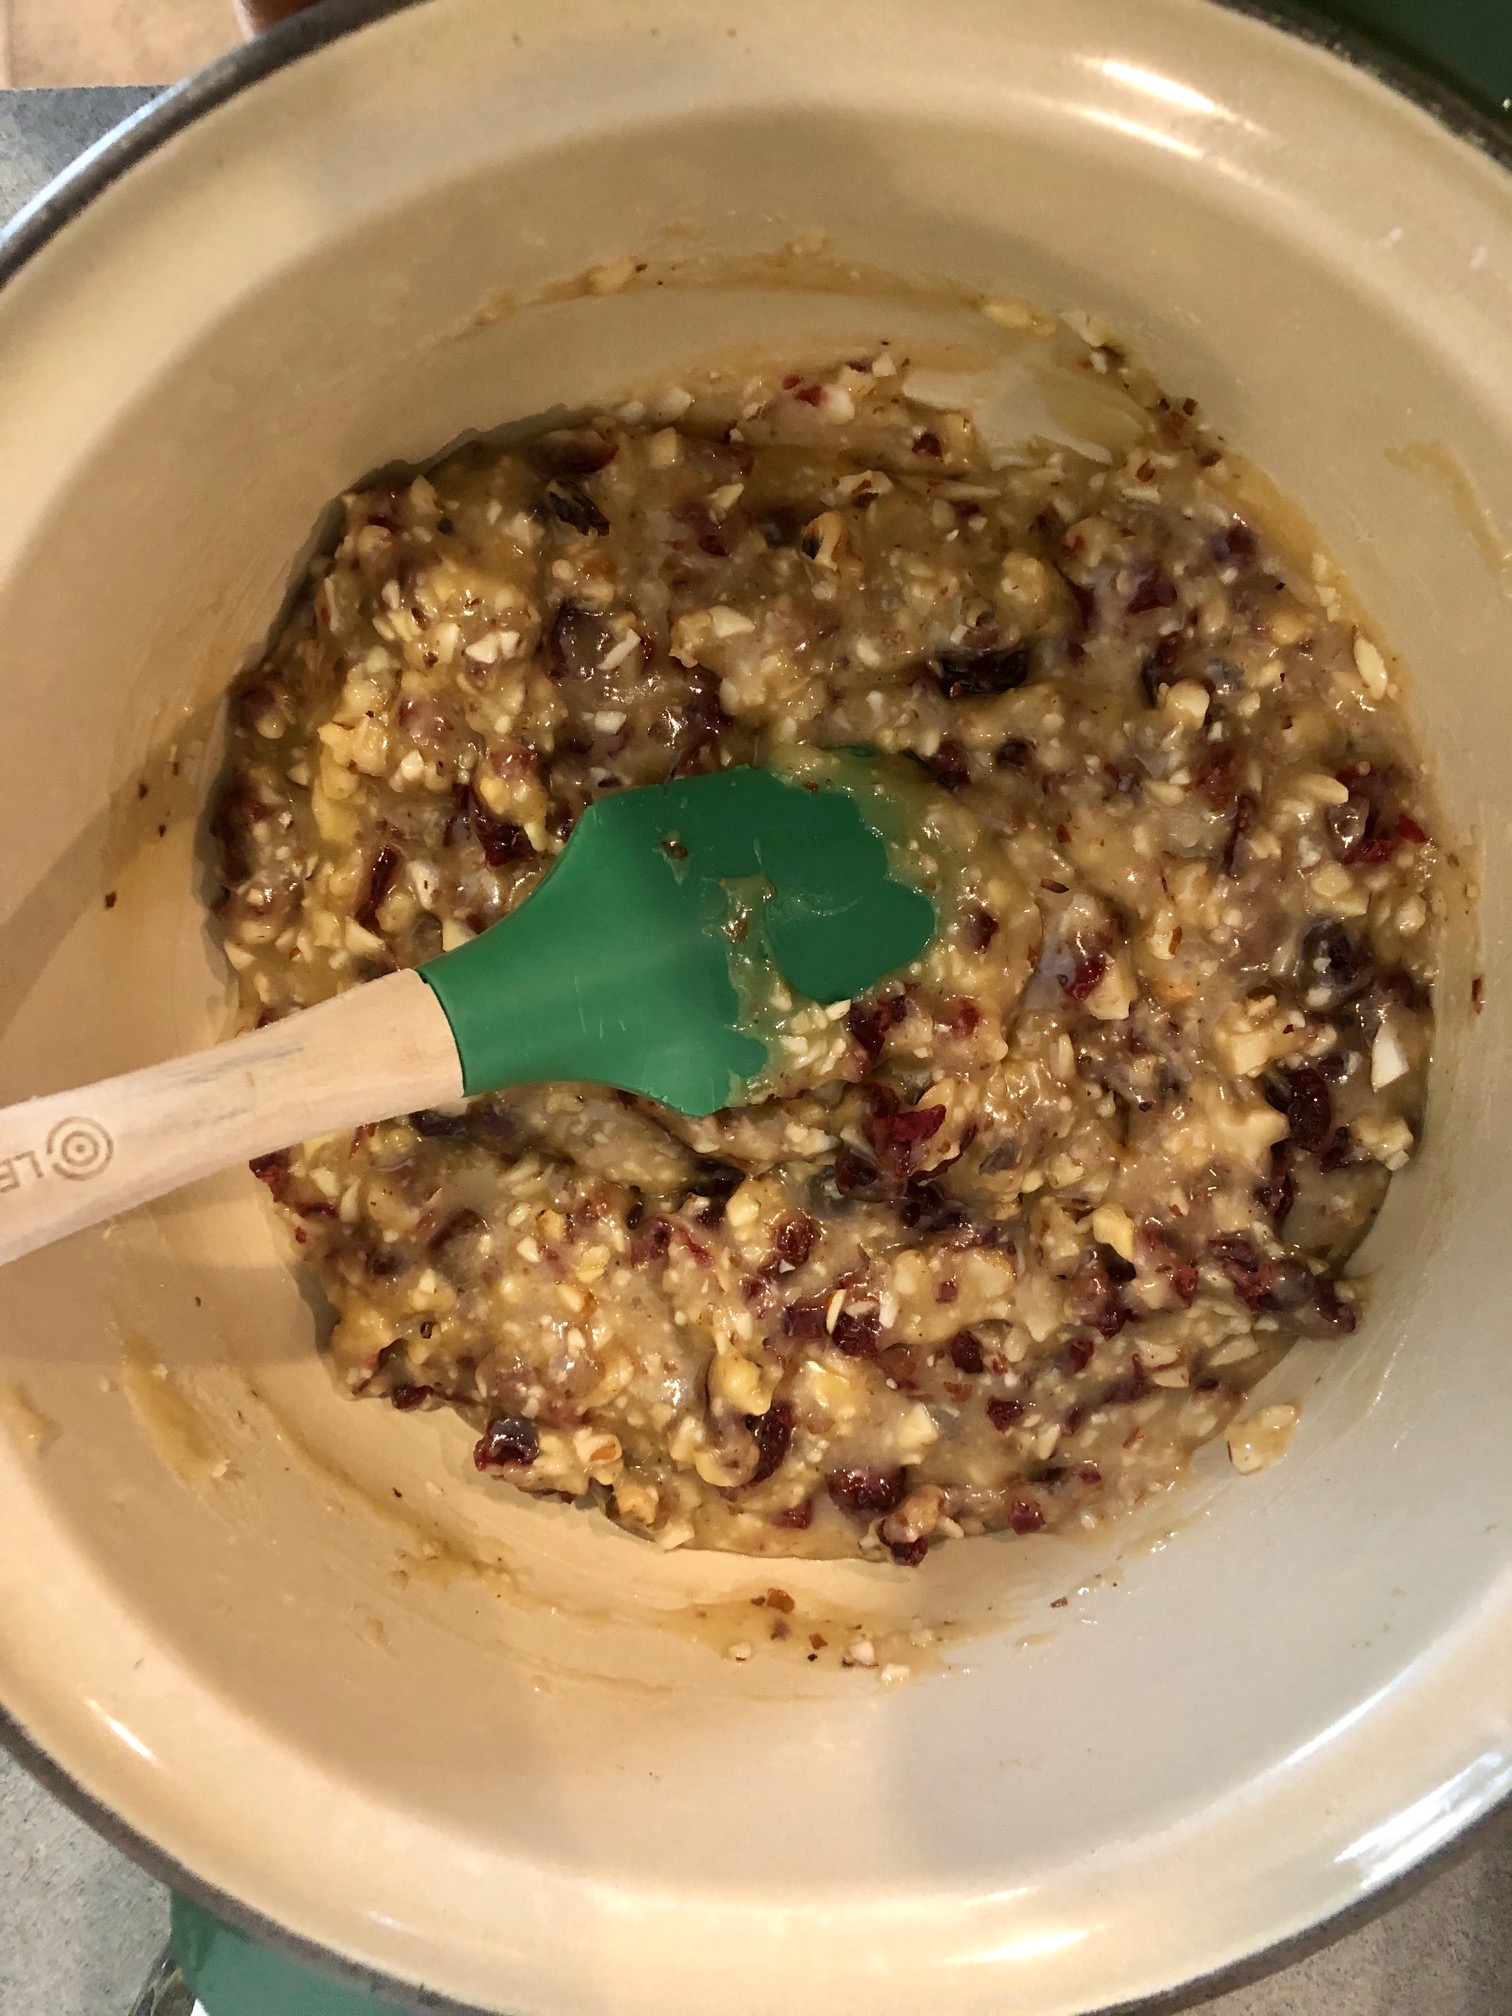
Mix in the Rest

Pull butter/sugar mixture off the heat and add the rest of the ingredients

Spoon on to Baking Tray

These are way too much, should only be a teaspoon in each.

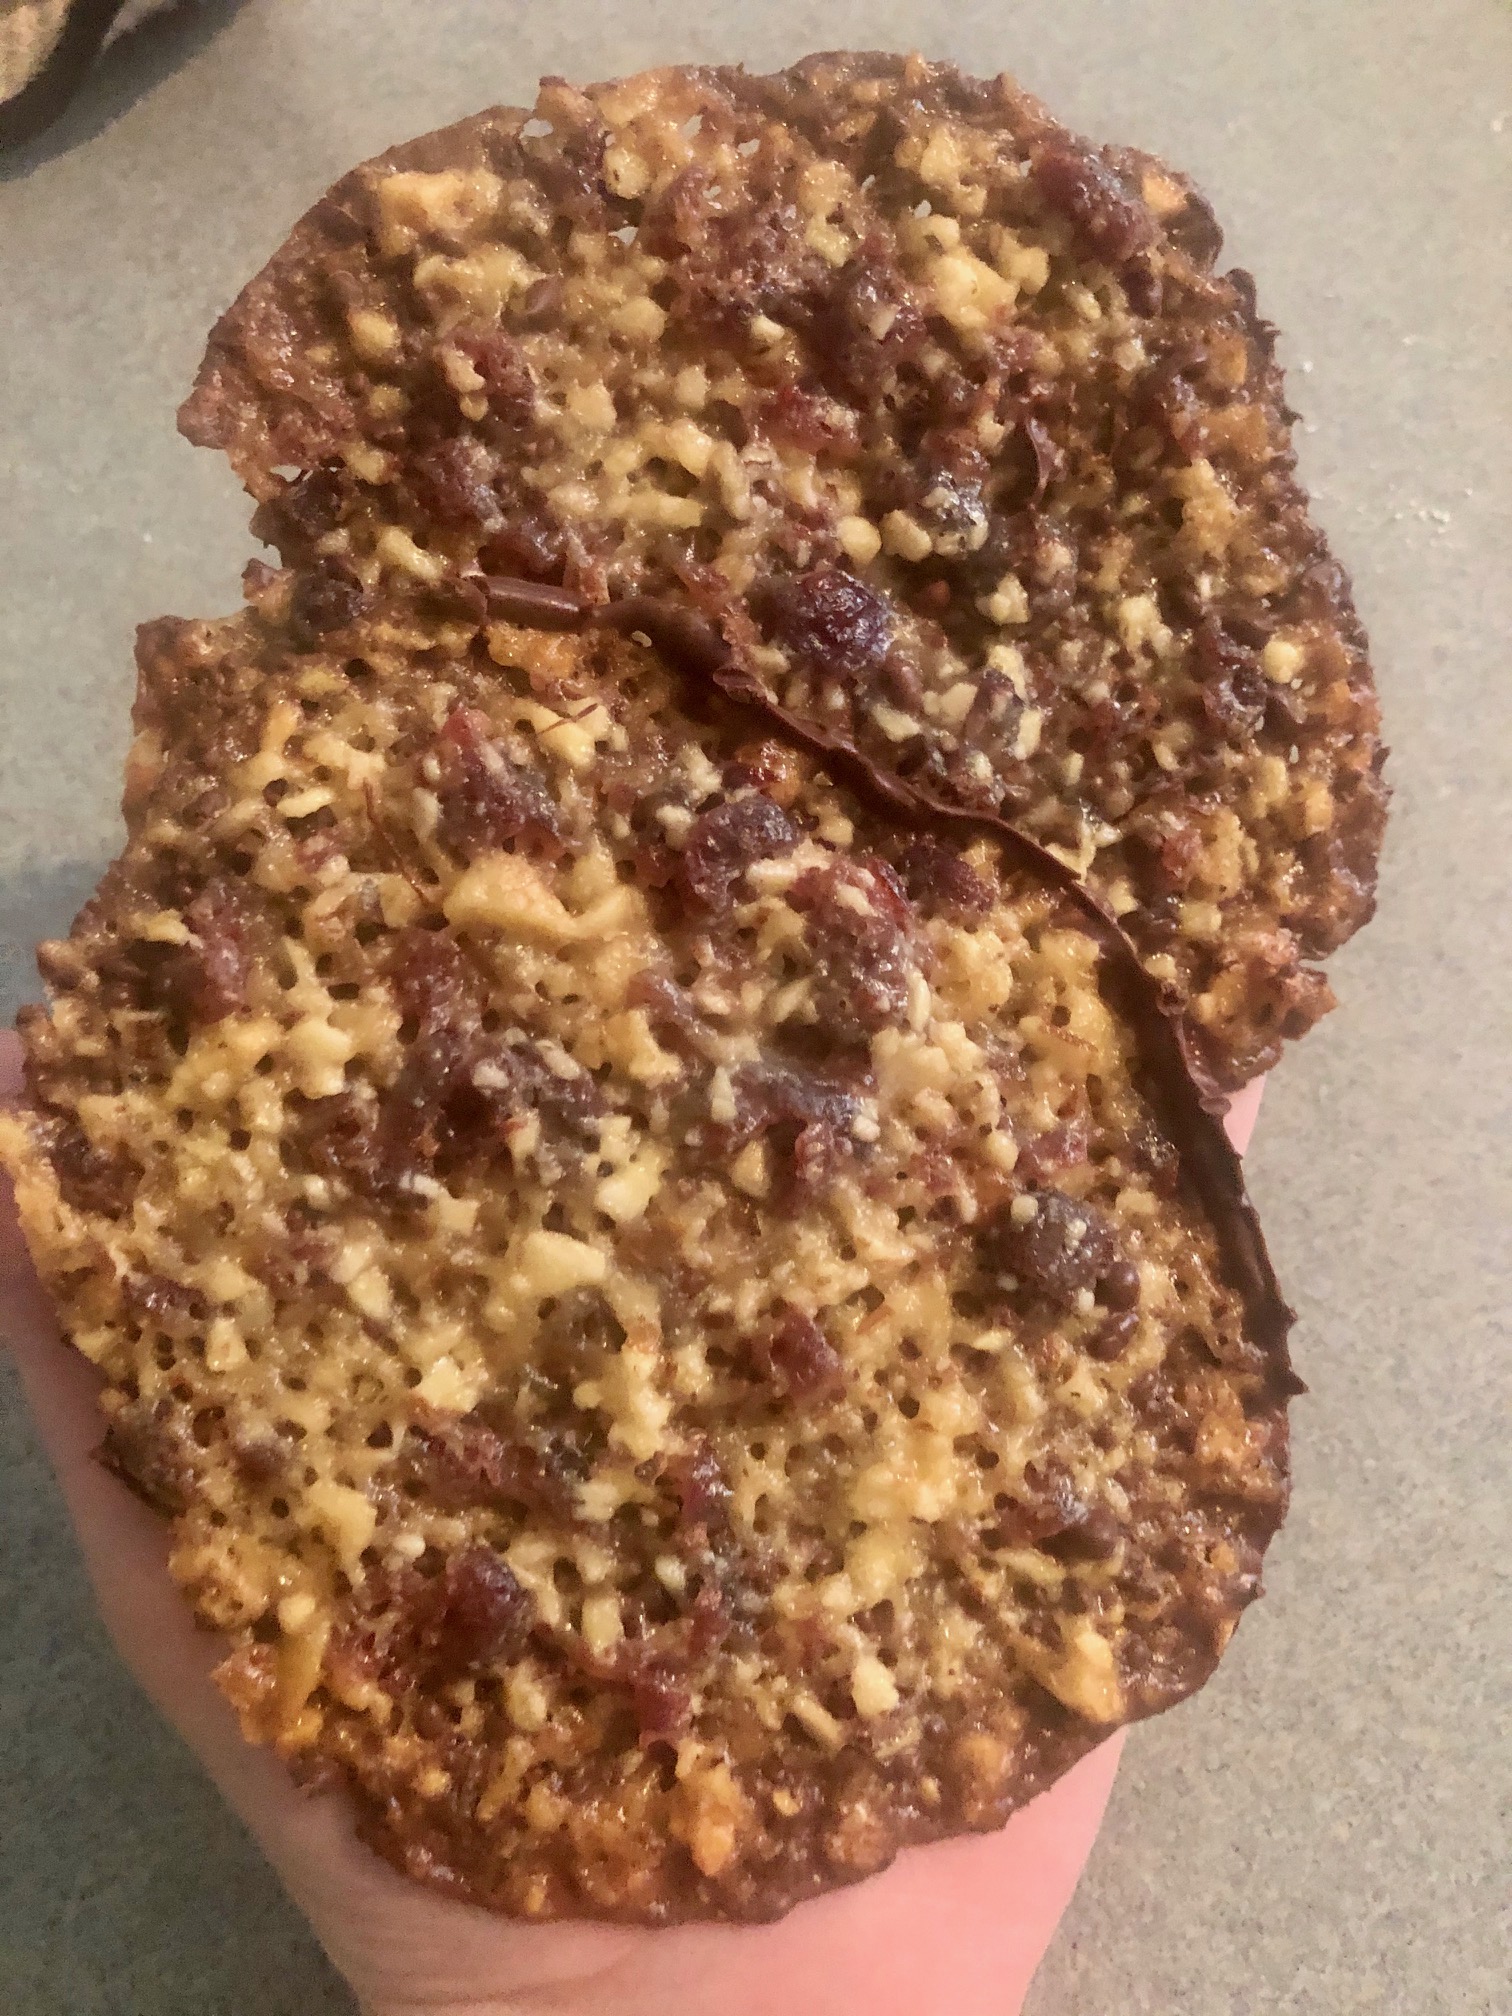
Baked Product

Gigantic Florentines! They really like to spread out.

Melted Chocolate

Simply melt chocolate in a heat safe bowl above a pot of boiling water

Backs of the Finished Product

I kind of got the zig-zag on the back...

Front of the Finished Product

They were yummy, but one is probably too much for one sitting.

Collection One Episode Two

Savory Cheese Biscuits

Collection 1 Episode 2 is all about the Biscuits. And of course, being from America, I was expecting a thick doughy item like a scone. Nope! Biscuits are more akin to American cookies. I found Savory Cheddar and Rosemary Biscuits on Pinterest, which is linked below. I bought some “fancy” cheese, Black Creek Wisconsin Classic Extra Sharp Cheddar (Aged 2 Years) and used the rosemary growing in our garden.
These biscuits are quite easy to make. Shredded cheese, diced rosemary, cayenne pepper, salt, and flour are mixed up in a food processor and then butter is added until the mixture just comes together. As they always say, try not to work the dough too much. I then rolled the dough out to 1/6” on a floured surface and cut out the biscuits. They then chilled in the fridge for thirty minutes before baking for thirty minutes. They came out AMAZING! Buttery with a good crunch.
The only thing I’d do differently is to add more rosemary to get more of the rosemary flavor.
Simple to make and definitely one for a charcuterie board! 

Two Main Ingredients

Add these to some flour, butter, salt, and cayenne pepper in a food processor and you'll have the beginnings of some very yummy biscuits.

Cutting Out the Biscuits

Rolling it out to 1/6 inch and then cut out the biscuits (I used a wine glass).

Finished Product

Beautifully crisp and delightfully cheesy.

Collection One Episode One

Miniature British Cakes

As I’m sure most of us do, I always pick someone in the season who I want to win. When I first watched the show I immediately started rooting for Martha Collison. She was the youngest contestant and had such an uplifting attitude it was hard not to like her. Also, her wedding was so sweet! Her fellow GBBO contestants made her desserts/ wedding cakes. She did not win, but she continues to bake on and hers is the recipe I will be baking from today.
The contestants were asked to make Miniature British Cakes. After re-watching the episode and hearing Paul and Mary’s remarks I decided to make Martha’s Lemon and Thyme Drizzle Cakes. The recipe is on her blog, Baking Martha, and I highly encourage you to follow her Instagram. Unfortunately, I couldn’t find Lemon Thyme ANYWHERE. I did read that you can mix one-part lemon zest to two parts thyme, but I realized I did not have any thyme! Rather than make a run to the store, I made the executive decision to leave out the thyme in all its facets and just make lemon drizzle cakes. They turned out so yummy!
This recipe had four parts; lemon curd, a sponge, a filling, and a lemon simple syrup. I began by making the curd. While that was cooling in the fridge, I made the sponge, omitting the lemon zest. I didn’t want to overpower the cakes with lemon since I wasn’t using thyme. The syrup was made by heating the lemon juice and zest with the sugar until the sugar dissolved. While the sponges were cooling, I made the mascarpone filling. After making whipped cream, I mixed the rest of the ingredients together and folded the whipped cream into it. Once the sponges cooled, I drizzled the syrup on the tops and prepared to put the sweet together. I sliced the sponges in half and dotted the mascarpone cream on the bottom half and the lemon curd on the top half and put them back together.
While the cakes were really tasty, my oven continues to bedevil me. The temperature is still off, so I ended up with peaks in the middle of the sponges and crunchy sides. Wouldn’t have gotten Star Baker this week, but there is always next week! 😉. I plan to make Martha’s actual recipe, but that’ll be another time. 

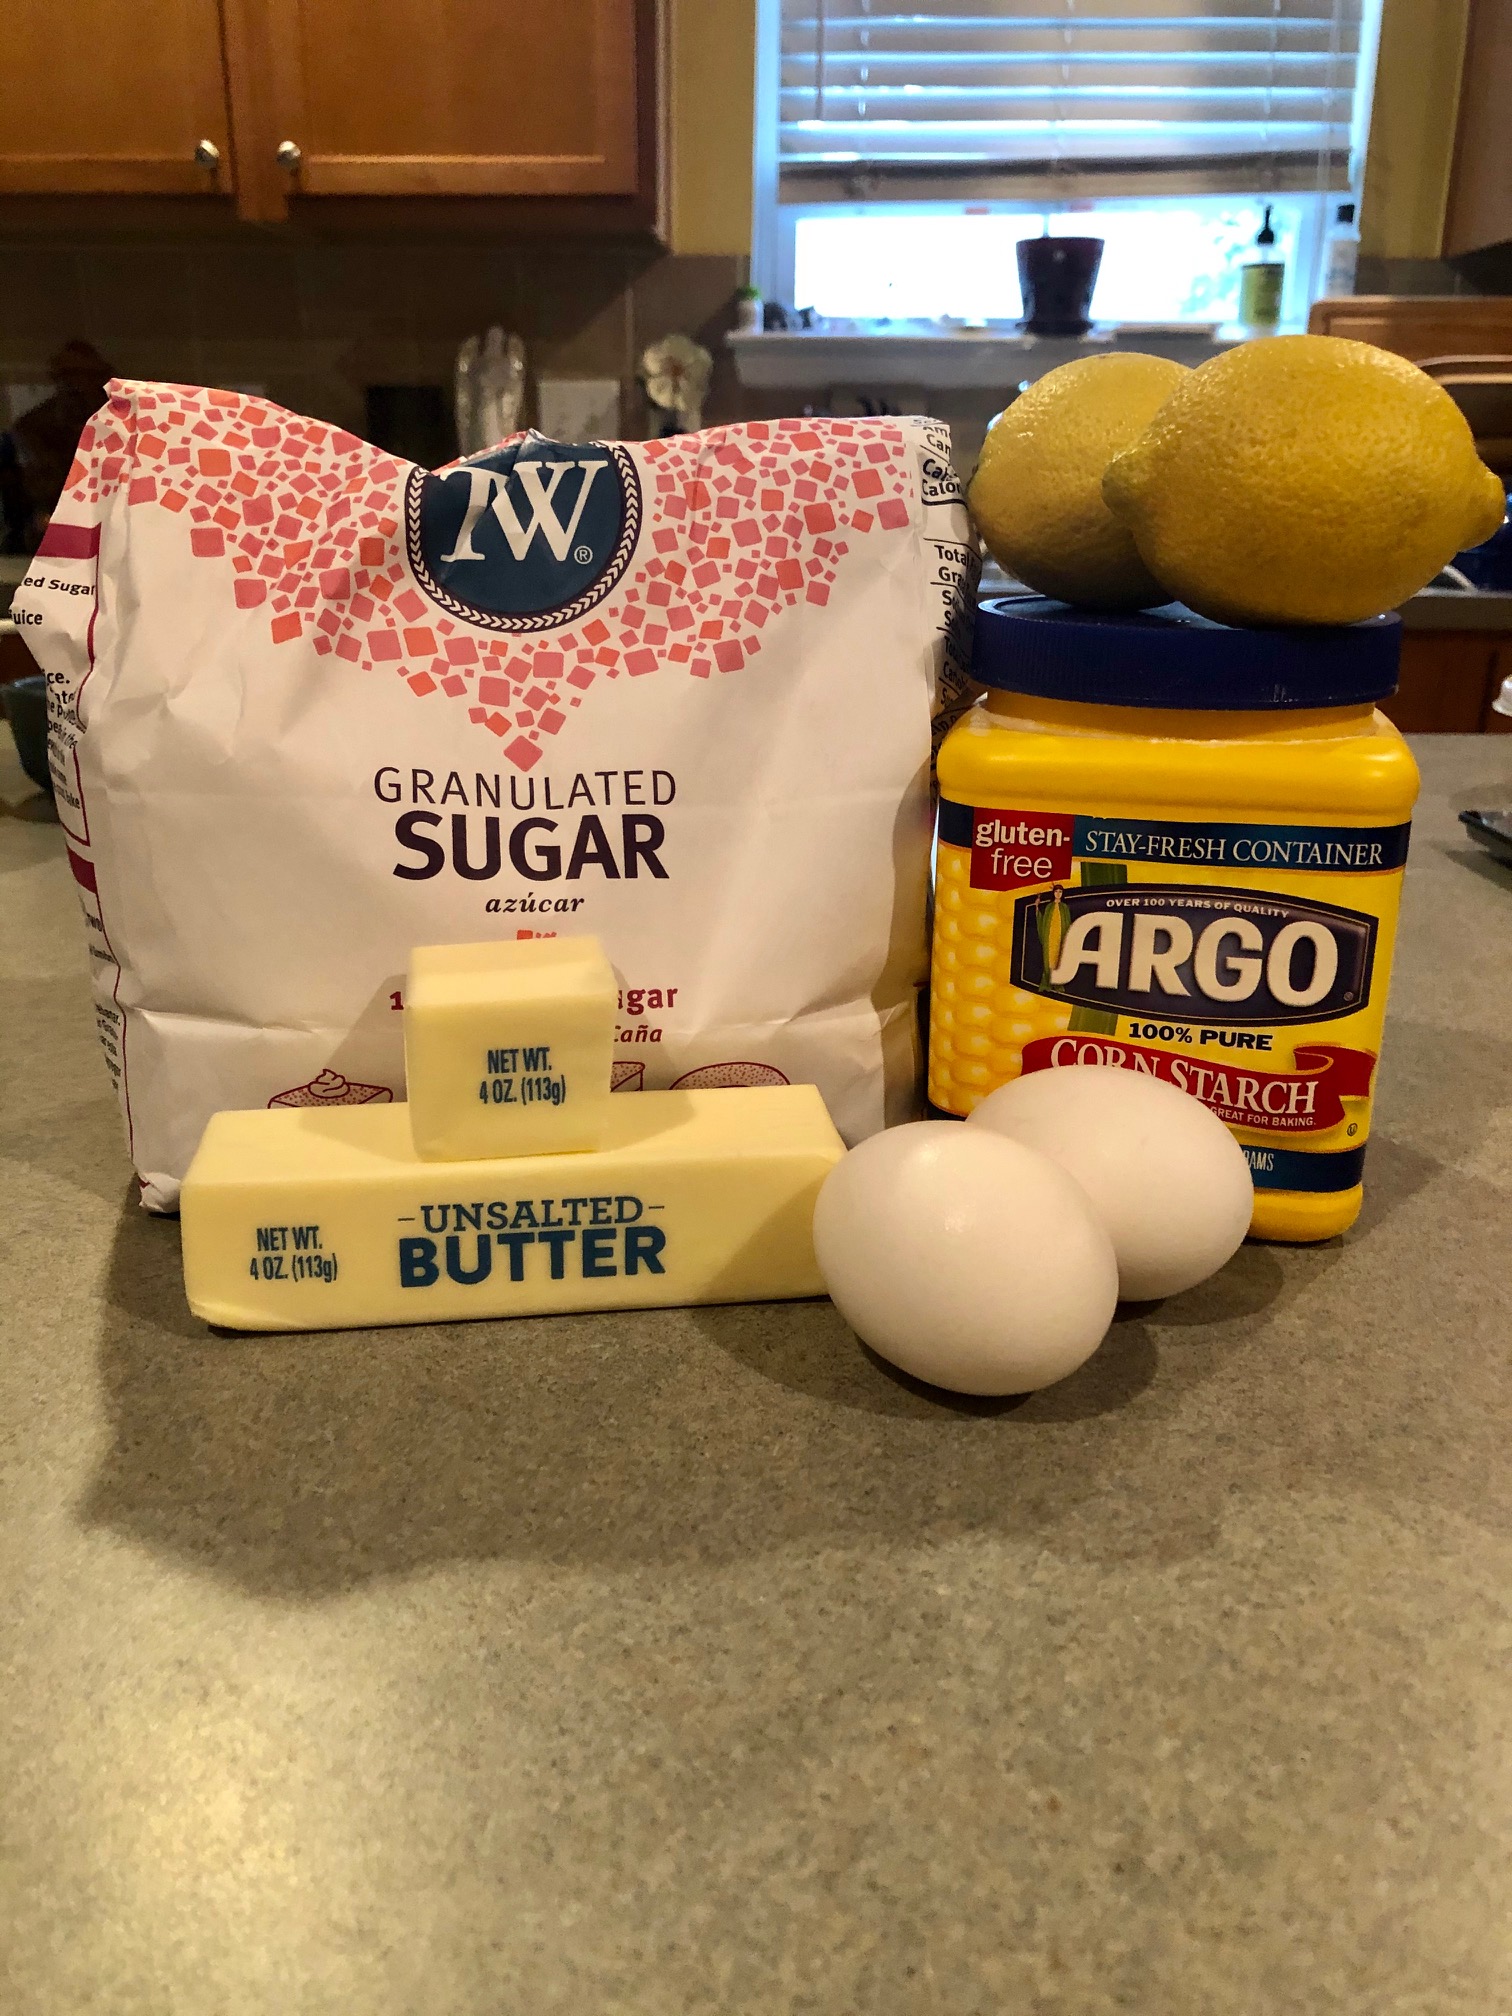
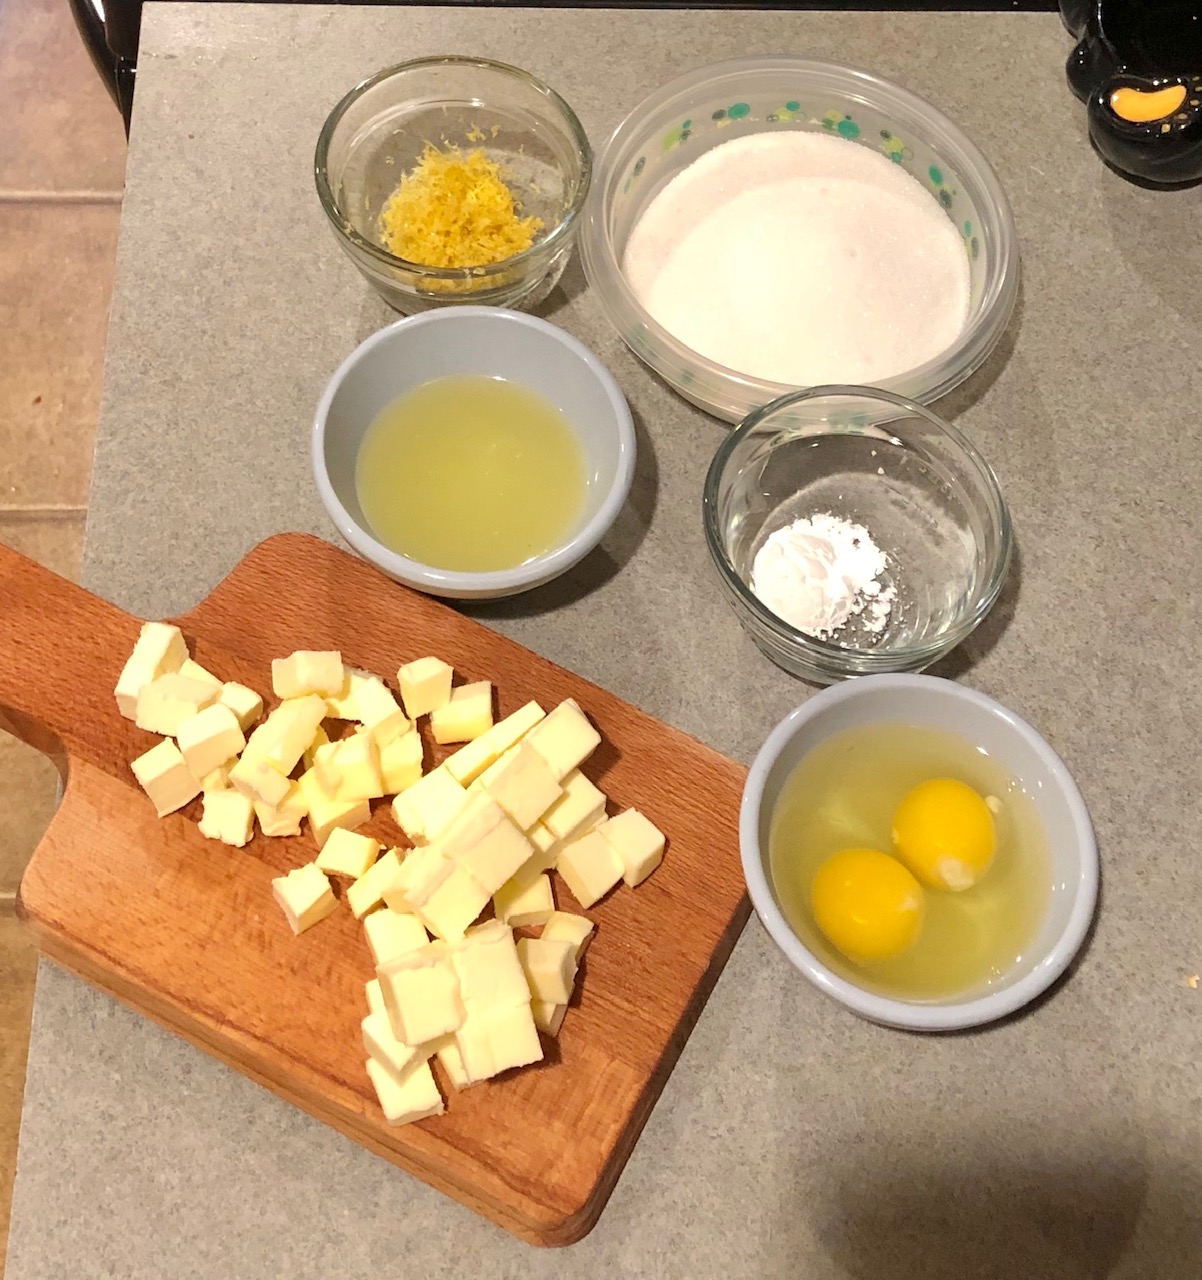
Lemon Curd Ingredients

Butter, Sugar, Eggs, Lemons, and Cornstarch

Mise en Place

All Lemon curd ingredients measured out and ready to combine.

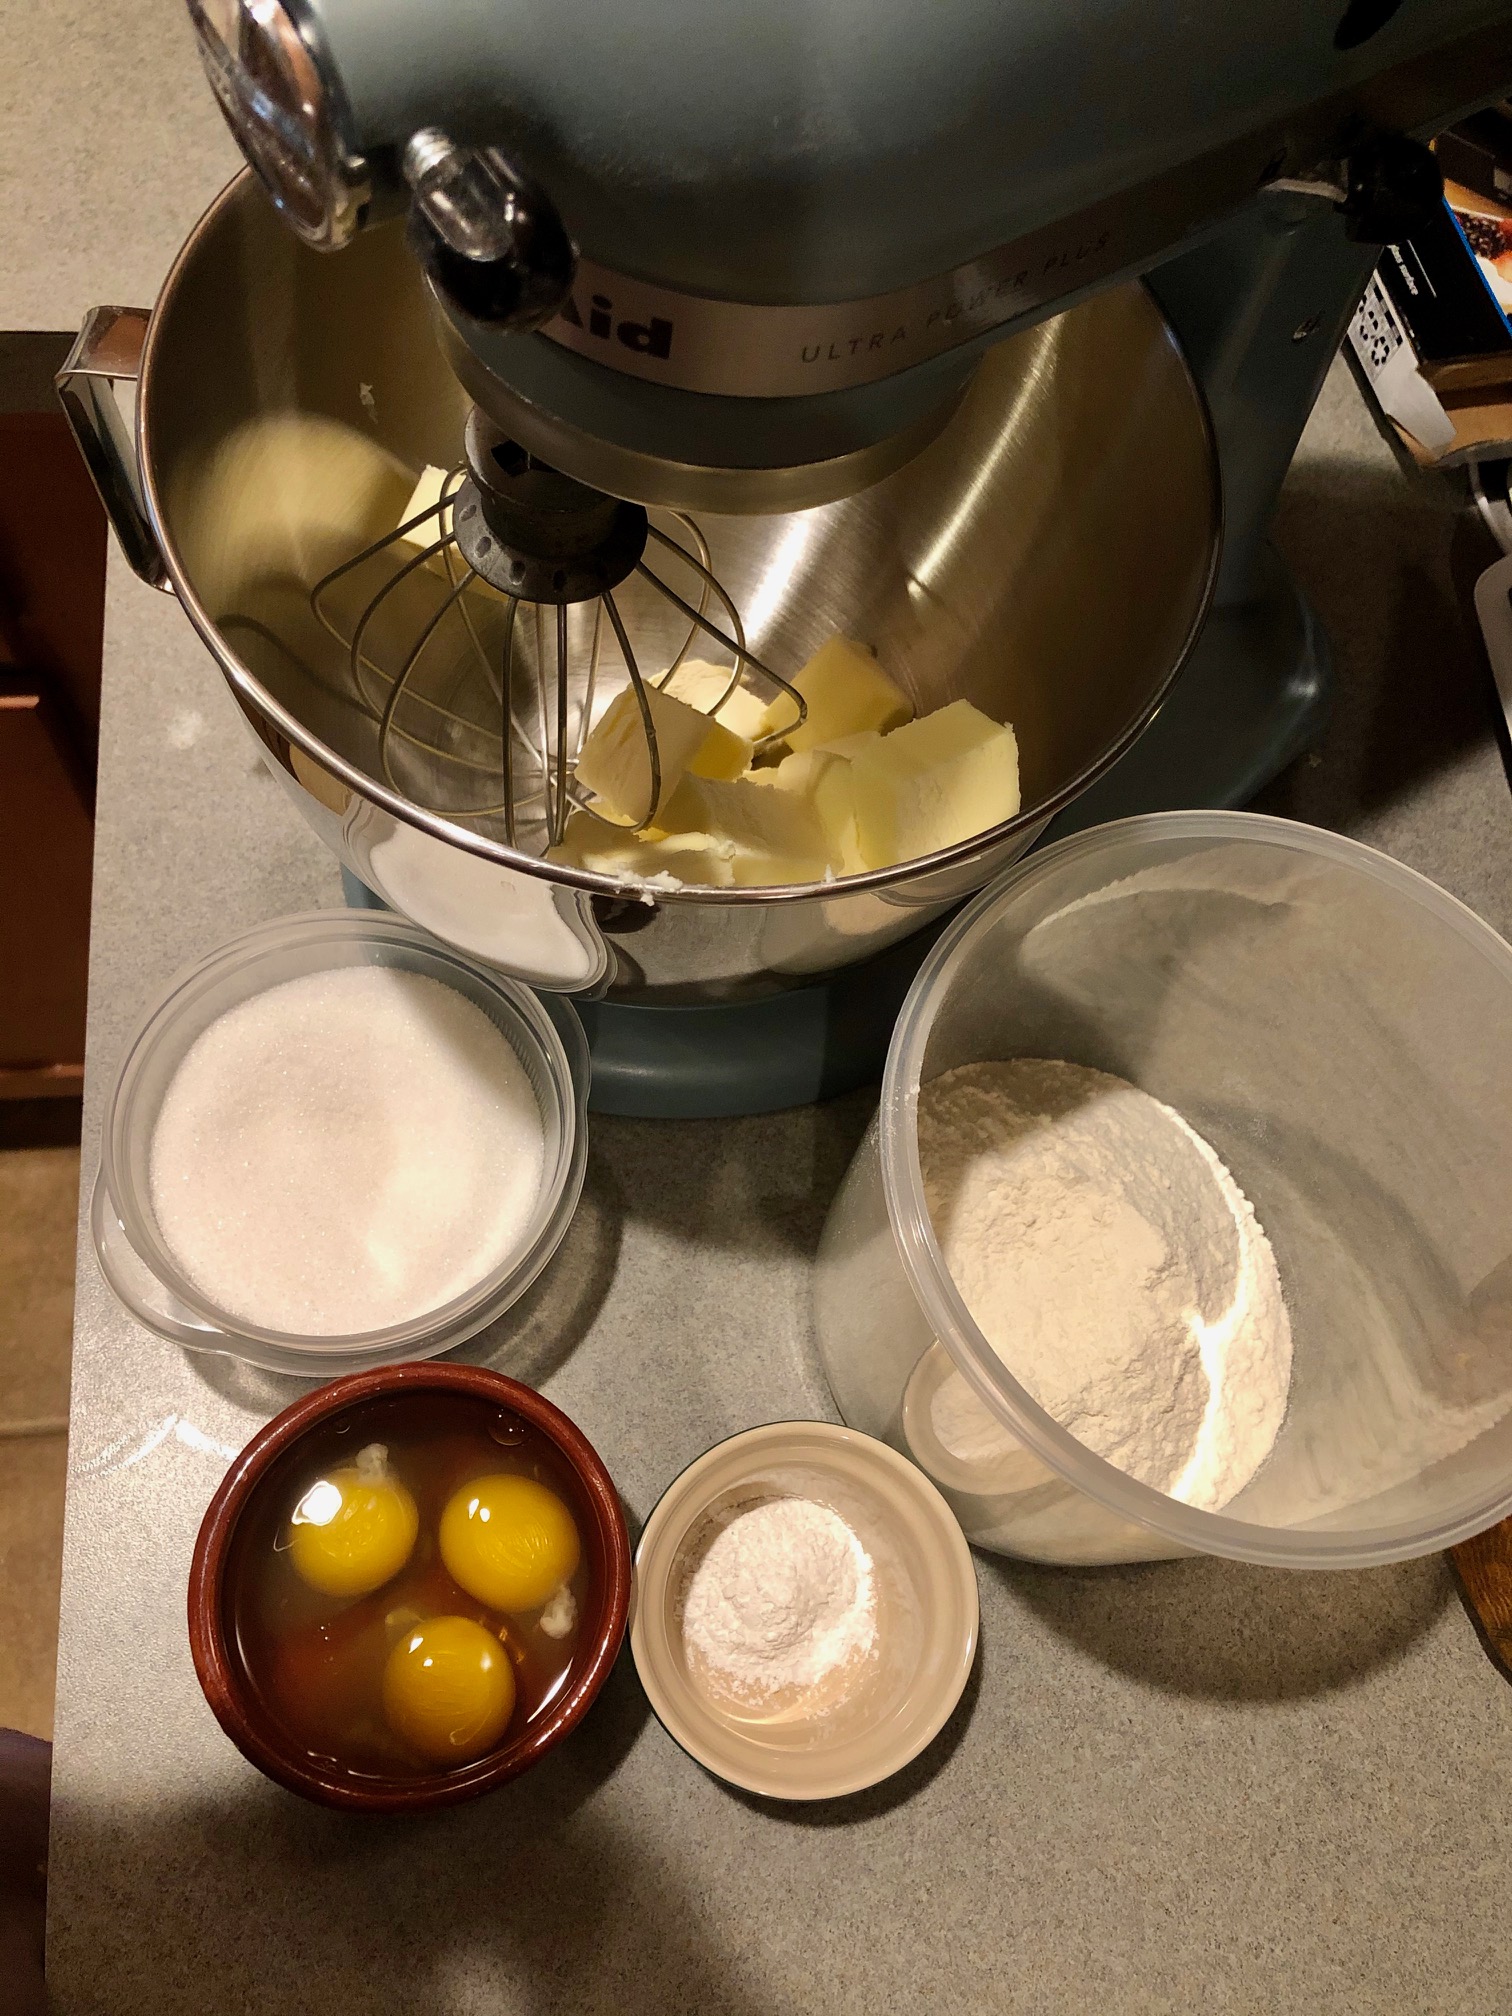
Sponge Ingredients

Basic sponge ingredients; butter, sugar, eggs, flour, salt, and baking powder.

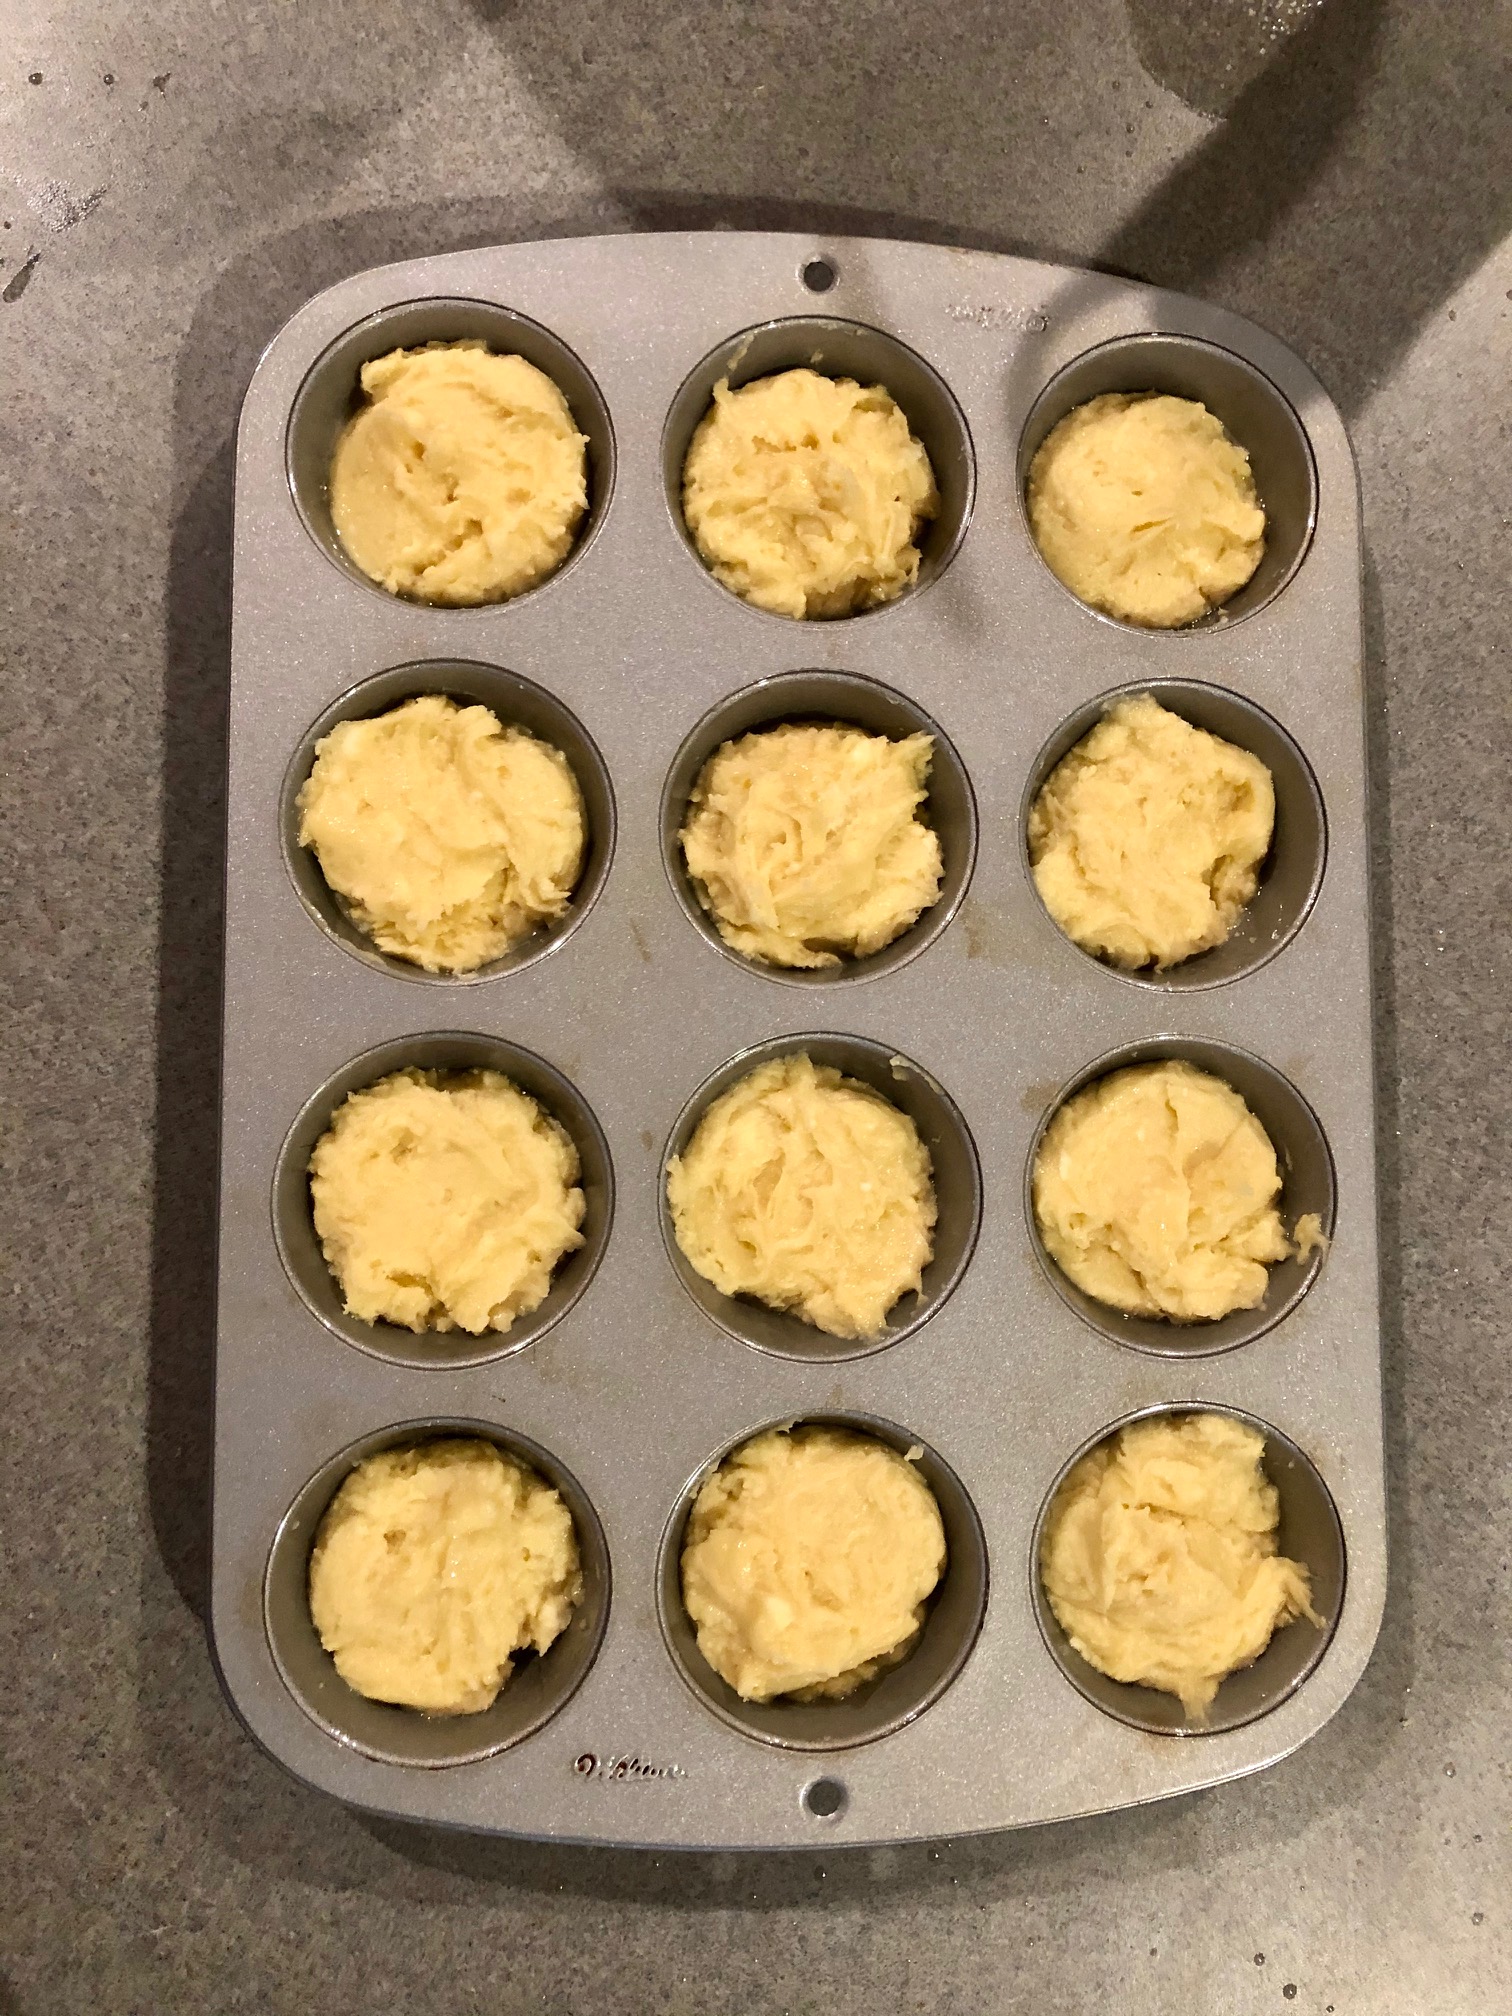
Ready for the Oven

It is a thick mixture, so try to get it as flat as possible.

Baked and ready for Lemon Syrup

Holes poked into top to ensure the syrup made its way into the cake

Syrup Soaking into the Sponges

Simple syrup of sugar, lemon juice, and lemon zest

Sponges with Filling and Curd

Added the marscarpone cheese filling and the cooled lemon curd

Finished Product

They really were delicious, but next time they will be better.

Collection One Episode One

Mary Berry's Cherry Cake

Mary Berry, what a gem! The queen of the baking world herself! She is honest but fair and always finds the good in everyone’s bakes. This week’s second bake is her Cherry Cake. I’d recommend watching The Great British Bake Show: Masterclass because Ms. Mary goes through this bake and gives great directions.
(I have made this cake before, but it came out dry and I did not get the icing correct. This time I will do better! Link to Mary’s Cherry Cake is below.)
This bake is pretty much a dump and go cake. You’ll need to quarter, then wash, dry, and toss the cherries in 2 tablespoons of the total flour. In a stand mixer put softened butter, sugar, three eggs, lemon zest, self-rising flour, and ground almonds. Mix on medium for a couple minutes. The mixture will be thick! Once everything is incorporated, fold in the flour covered cherries by hand. I used a greased Bundt pan and baked for a little over 40 minutes (until a pick came out clean.) Let it cool in the pan for 10 minutes, then turn it out on a cooling rack. Once it’s completely cooled, cover it with the icing made of powdered sugar and lemon juice. Top with a few leftover cherry pieces and toasted slivered almonds. Simple enough!
I was pleased with the results. The cherries were suspended evenly throughout, and the cake was moist. I think it’s a great summer treat and would recommend it to anyone to take for a cookout or potluck.
A couple tips I have for baking from British recipes; first, get a scale! Almost all their recipes call for a weight instead of “cups.” Plus, it makes for more accurate measuring. Secondly, check the availability of items from British to US. For instance, I haven’t been able to find glacé cherries, but maraschino cherries are ALMOST the equivalent. They provide the same flavor. 

Prep the Cherries

Quartered, washed, dried, and tossed in flour

Start the Mix

Softened butter, sugar, eggs, and lemon zest

Add the Dry Ingredients

Self-rising flour and ground almonds

Fold in the Cherries

A flour coating keeps the cherries from sinking in the mixture.

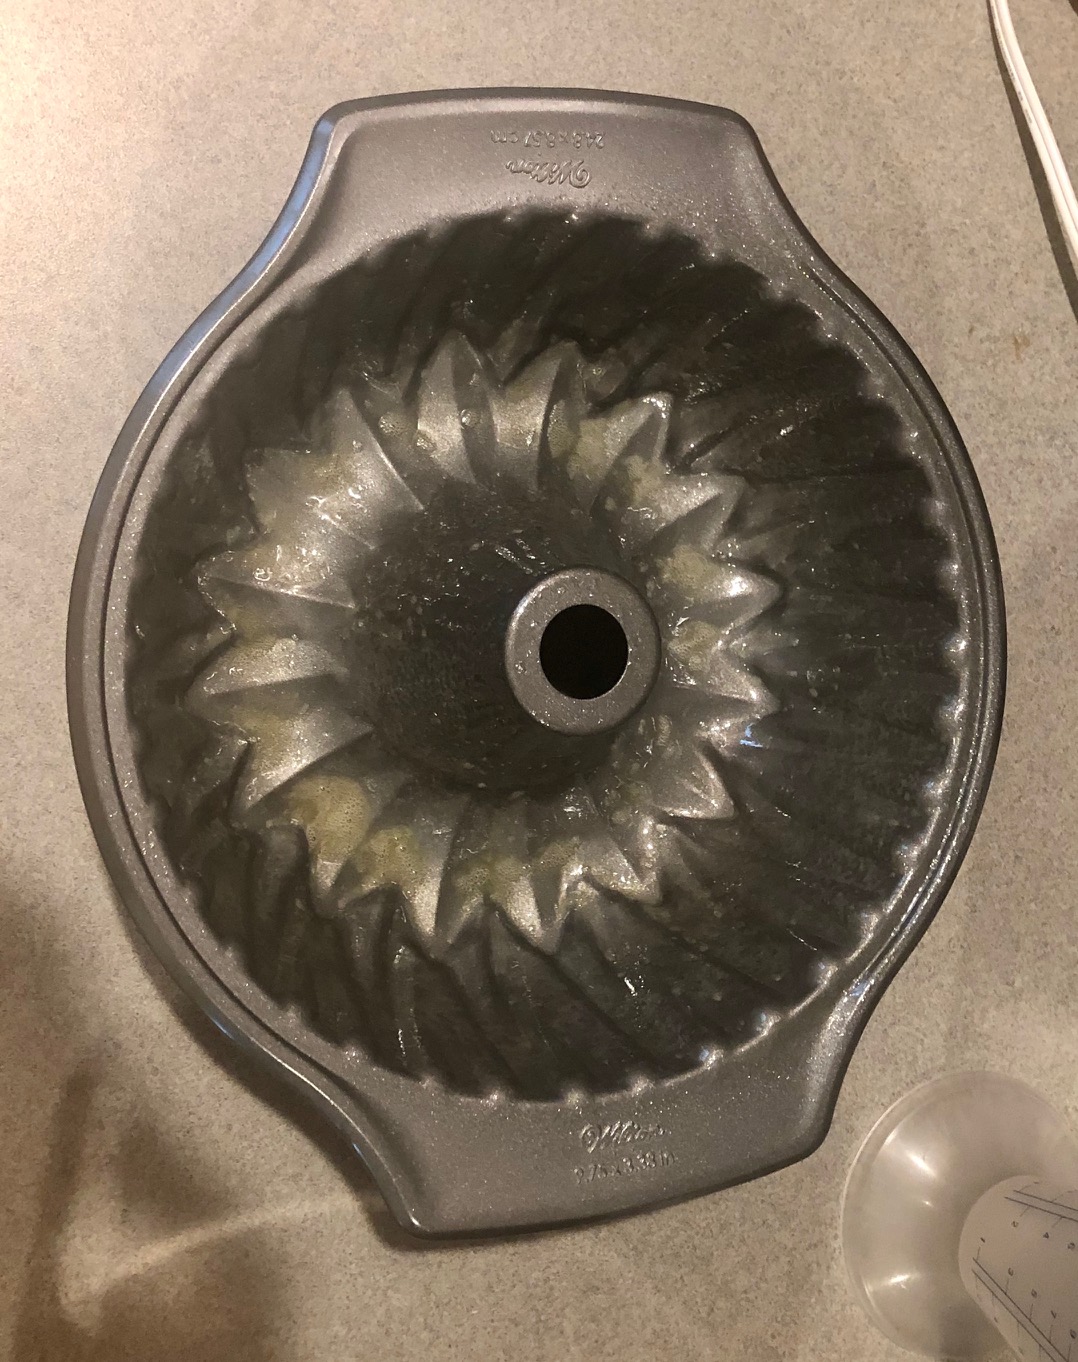
Grease the Bundt Pan

Make sure to coat the pan well, especially with all the dents

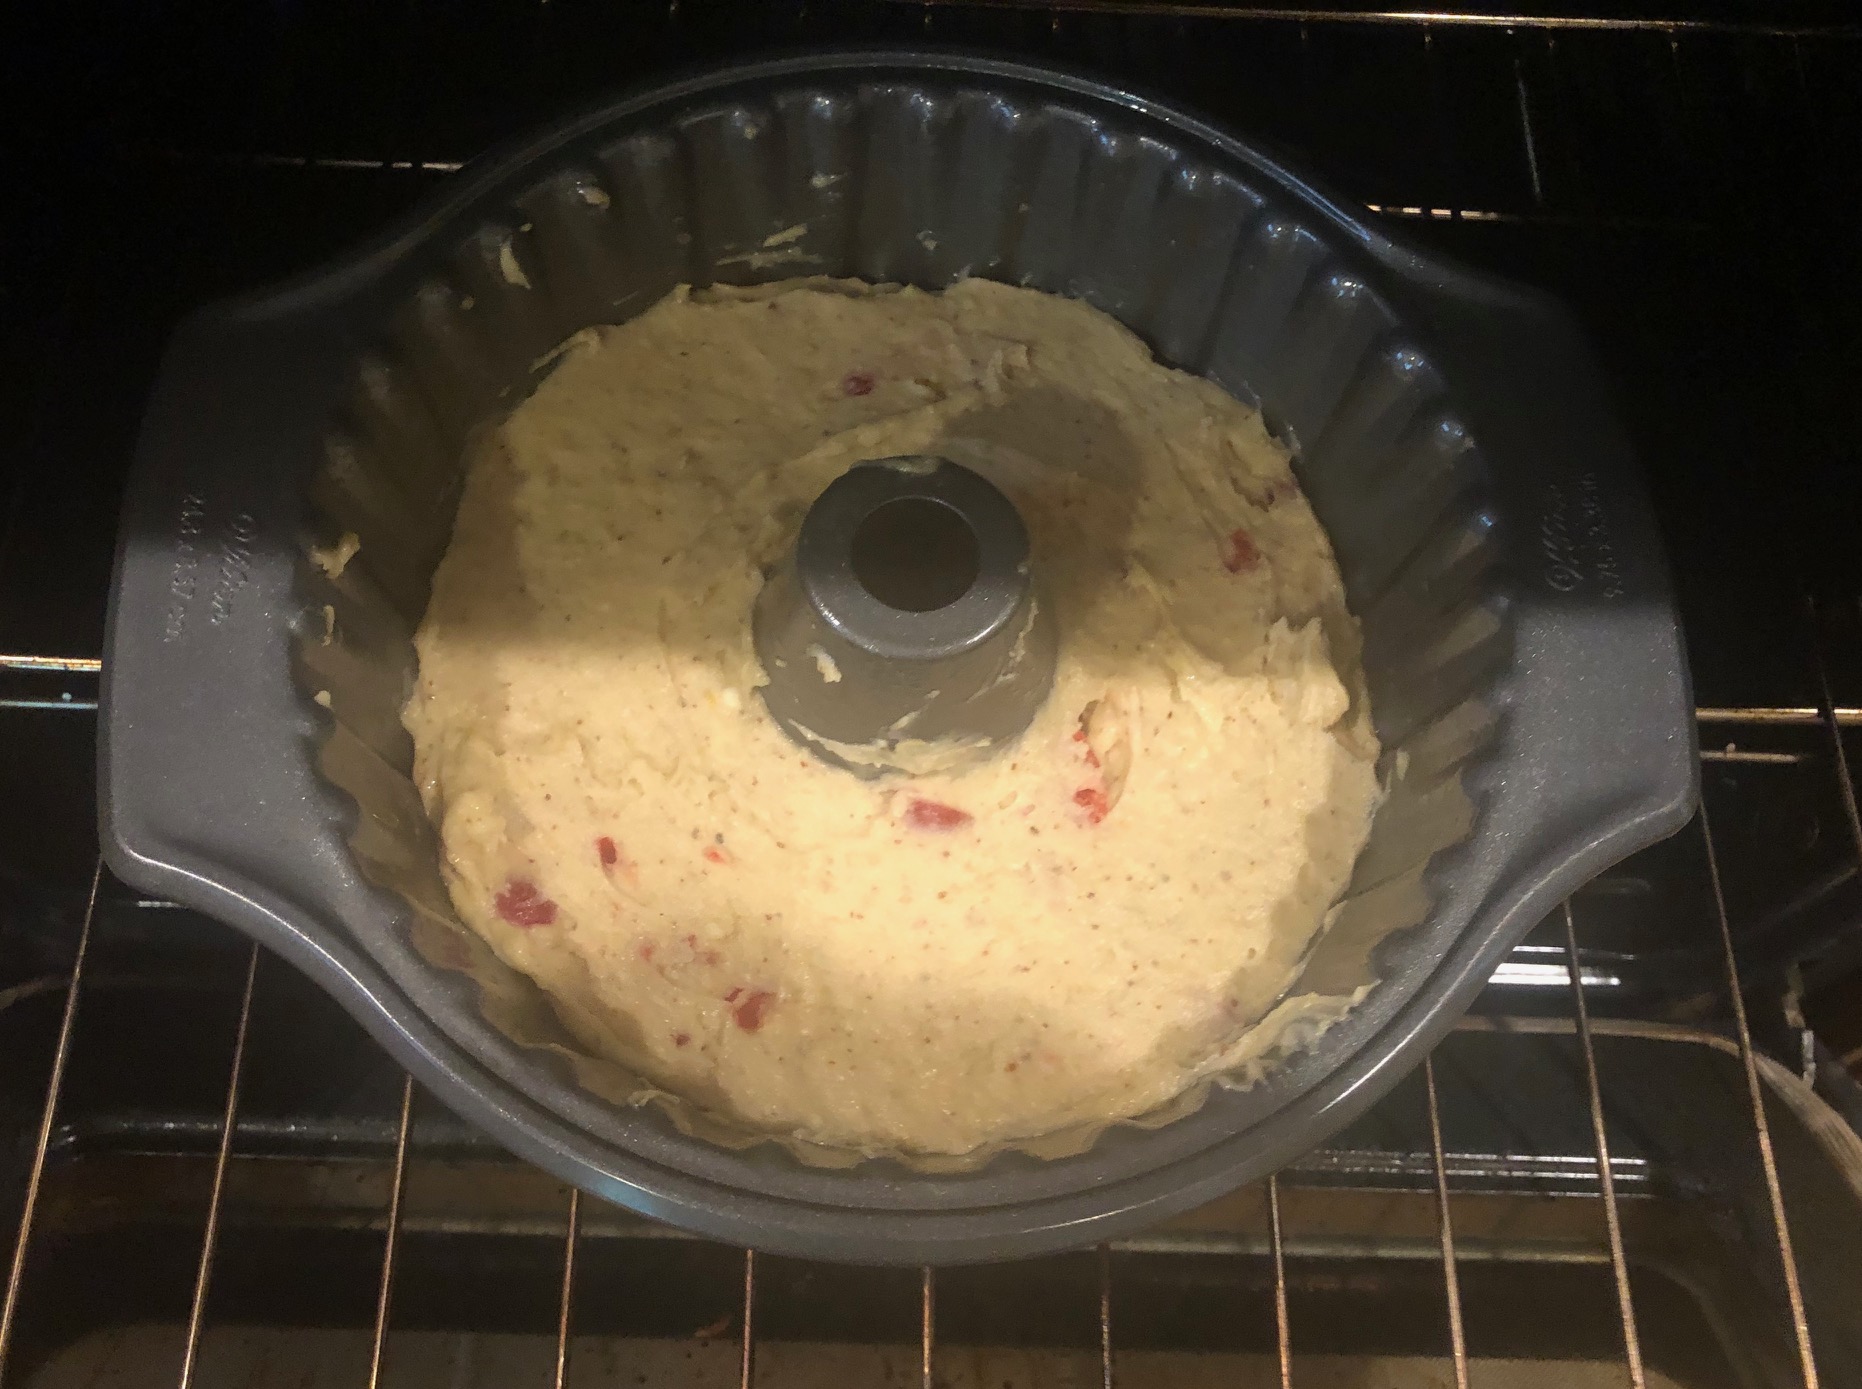
Even Out and Bake

Since the mixture is relatively thick you'll need to level off the mixture with a spatula

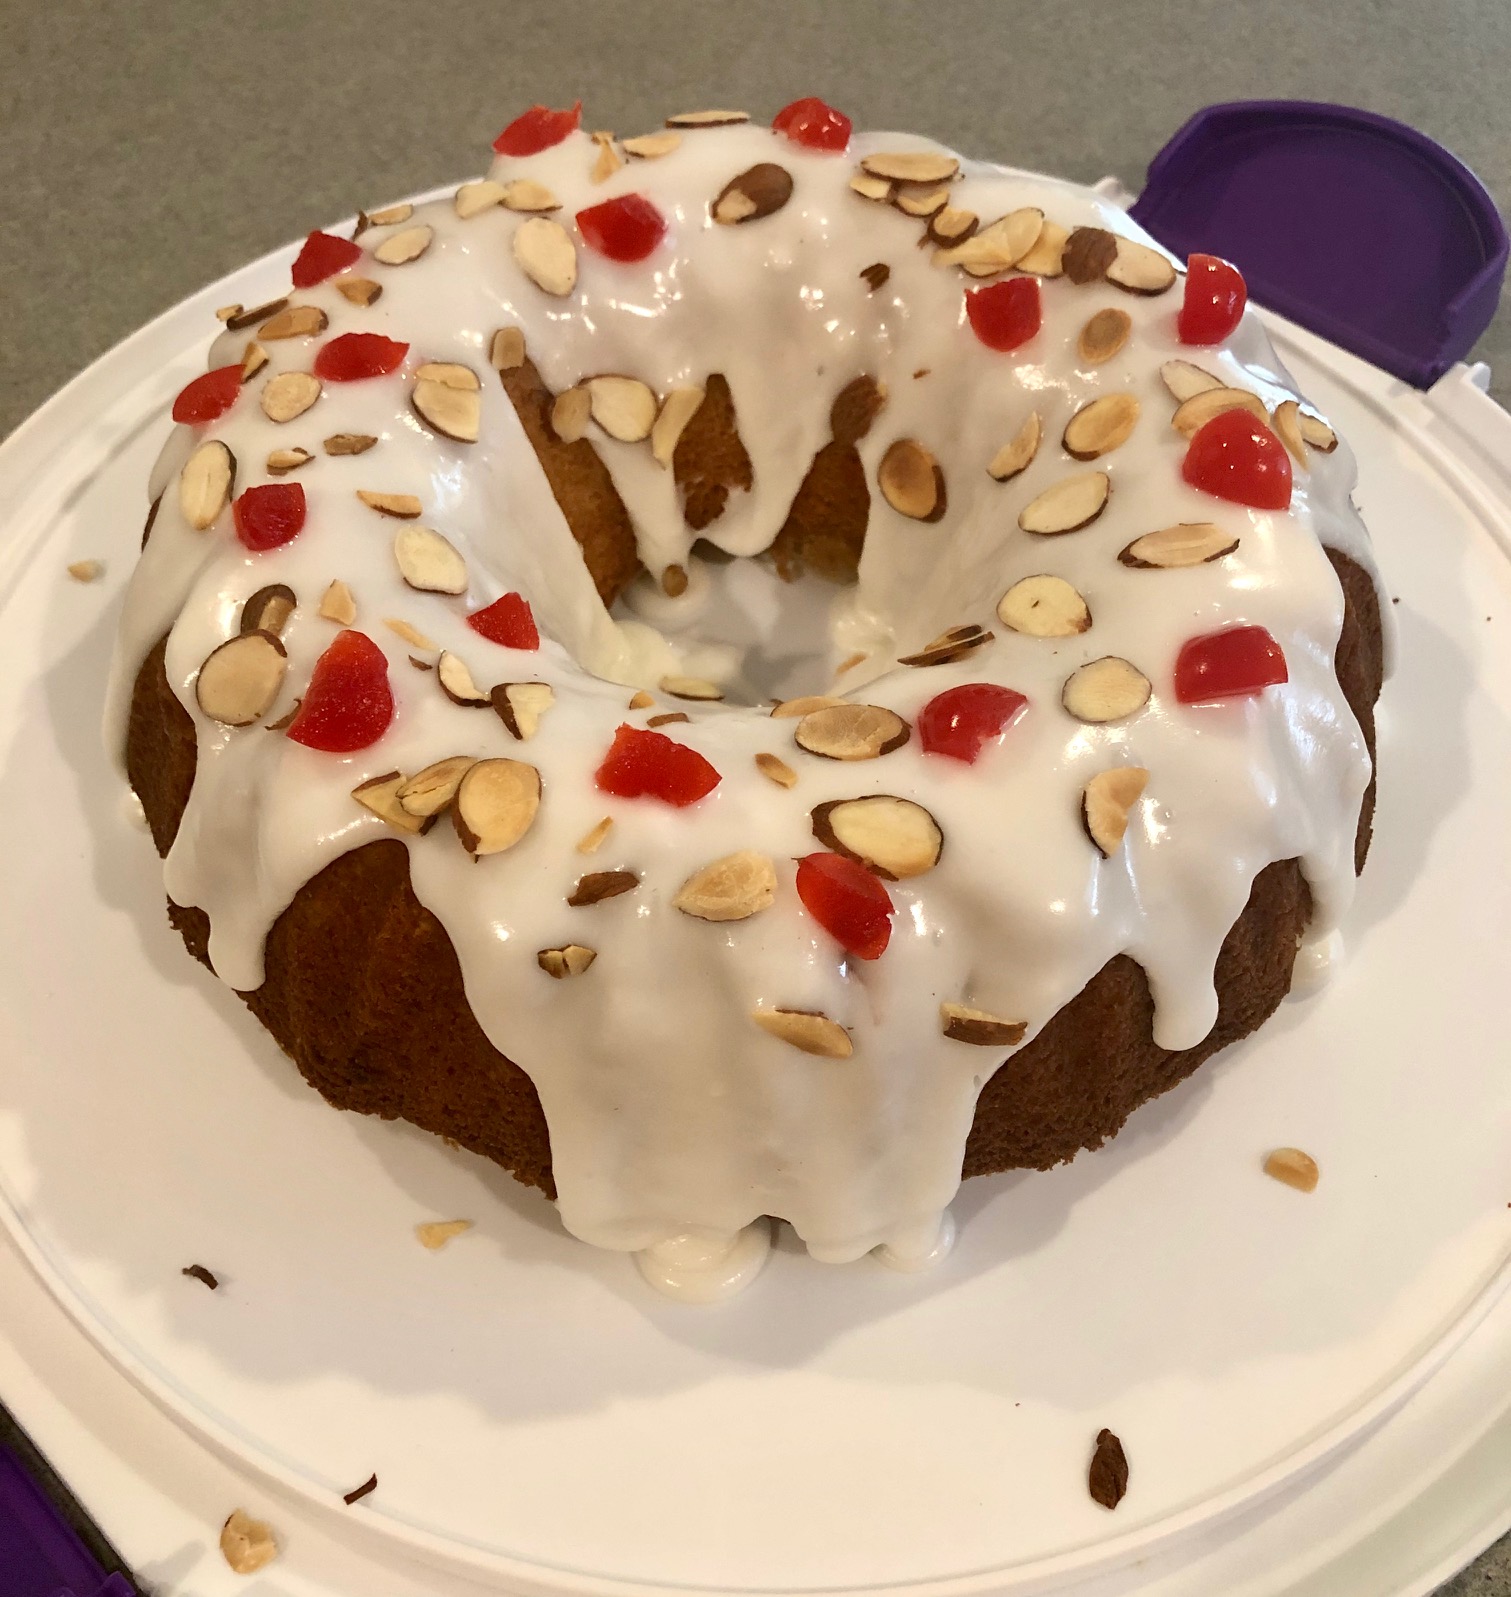
Finished Product

Nice and thick icing with some saved cherries and toasted almonds

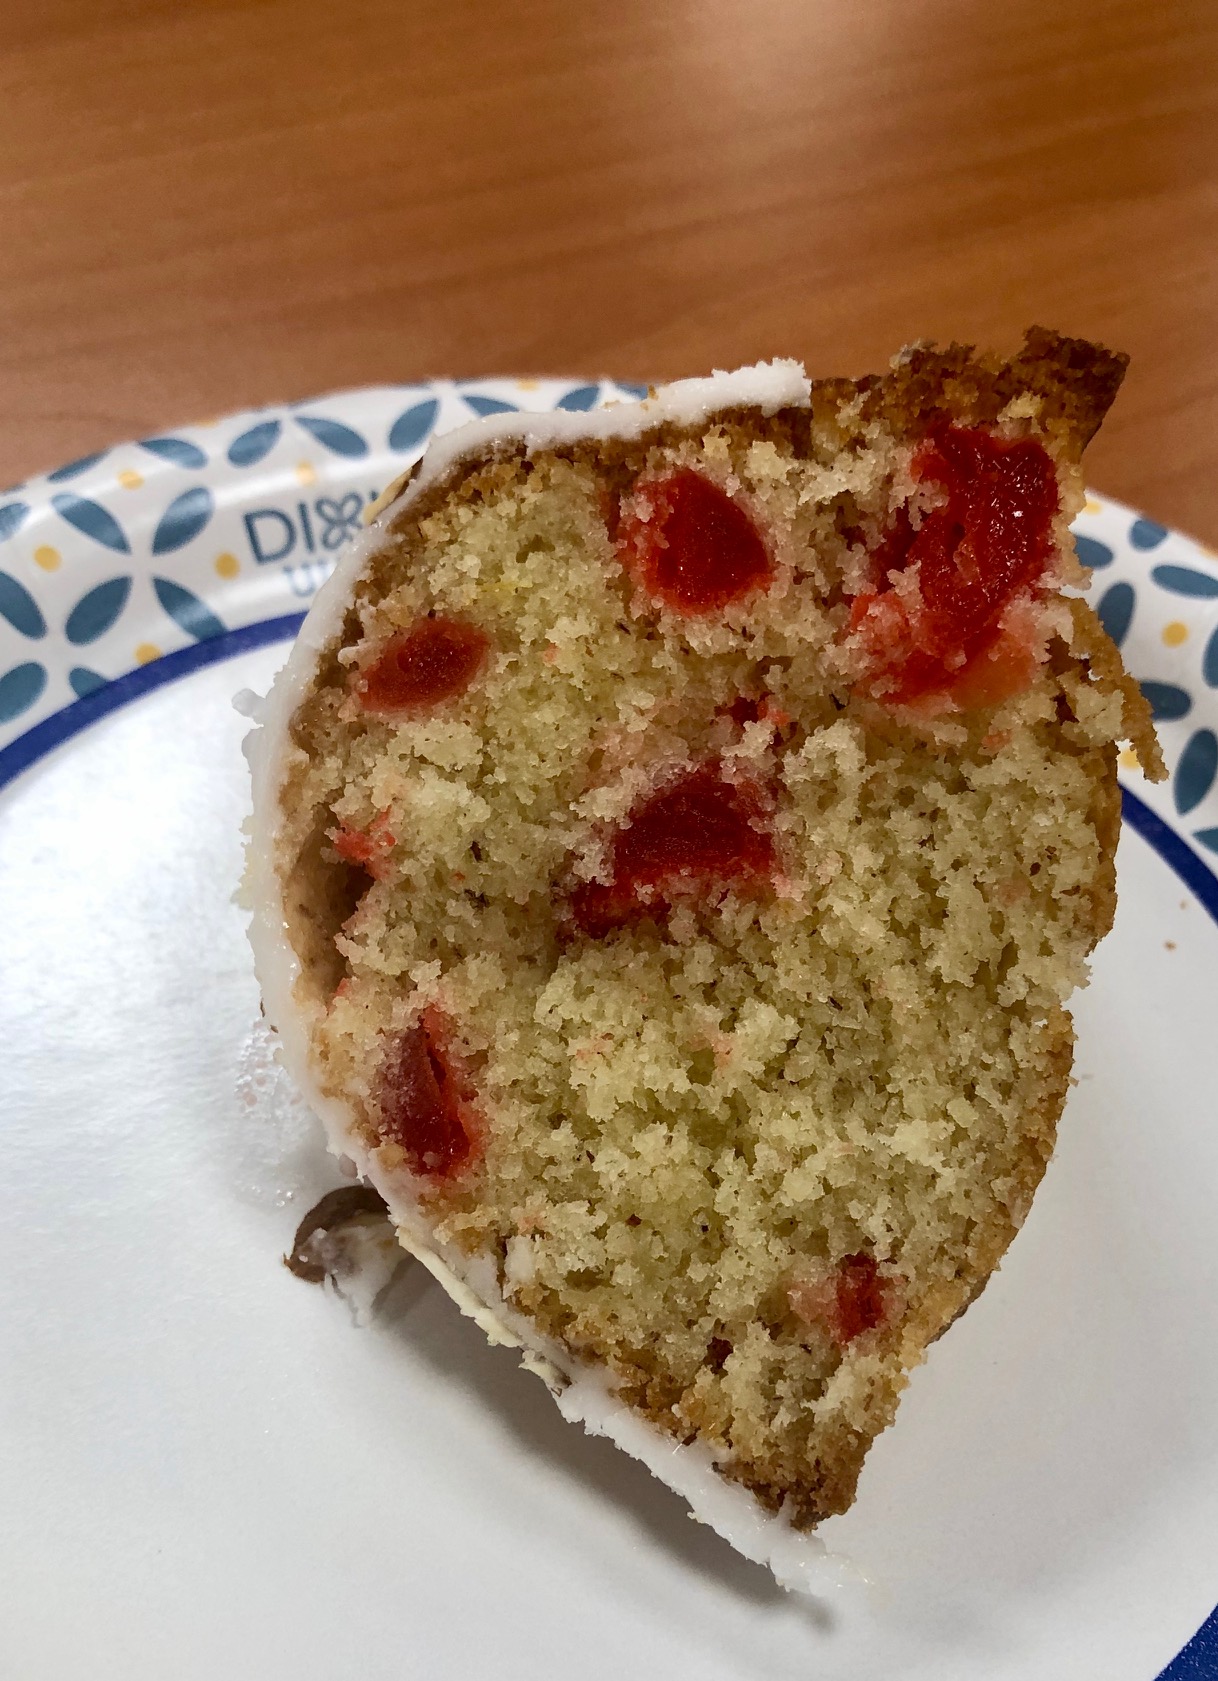
A Cherry in Every Bite

Cherries evenly distributed and a moist cake

Collection One Episode One

Swiss Roll

In Collection 1 Episode 1, the contestants are tasked with creating a Swiss roll for their signature bake. A Swiss roll is a “type of sponge cake roll filled with whipped cream, jam, or icing.” (Wikipedia) I’ve made a lemon and blackberry Swiss roll before which did not turn out the way I had hoped. I rushed through the recipe and did not give the sponge time to completely cool. Tasted good, looked like a wet, squashed log.
This time I was determined to get it right. After checking Pinterest, I came across a Lemon Cake Roll with a Raspberry Curd Buttercream from @theJamLab. I love lemon and it pairs well with raspberry. I will be following the recipe as closely as possible, but if you check out Amisha’s recipe, you’ll see she has a beautiful cherry blossom design on their cake. My skills are not quite ready for a design, so I will be dusting with powdered sugar and adding raspberries on top. Original recipe is linked in my bio or even better, check out @theJamLab on Instagram for this and other amazing recipes!
After carefully reading the directions, I began to assemble and prep my ingredients. The raspberries had to be mashed, I needed to juice enough lemons for ½ cup of juice, and butter needed to be softened. Into a saucepan went the raspberries, lemon juice, sugar, lemon zest, and finally three eggs over low heat. This being the first time I had ever made a curd, I wanted to make sure I got it right, and believe me, halfway through I was worried I’d need to make another. After stirring a bit, I thought I messed up because it looked a bit like “scrambled eggs.” Turns out this was okay because you do strain it as well. Then six tablespoons of unsalted butter were added and stirred until thick. After straining into a glass bowl and popping into the fridge for two hours, I created the sponge. Simple enough - blend the wet ingredients in a stand mixer and then added the dry mix. I lined my tray with parchment paper for ease of removal. Once cooked and out of the oven, I took the sponge out of the pan (still on the parchment paper) and rolled it in a dish cloth while it was warm. I did this with the last swiss roll I made and I saw some of the contestants doing it on GBBS. I left that to cool while I made the buttercream. Buttercream isn’t too hard to make, just butter and sugar with the added curd. I liked this buttercream except I think next time I will use less powdered sugar and more of the curd. It was a bit too sweet for my taste and I wanted that tartness from the curd.
Once the sponge had cooled, I unrolled it, added the buttercream, put a little drizzle of the curd and fresh raspberry pieces on top, and began to “roll the roll.” I believe it rolled up nicely. It had a good swirl, none of the filling fell out, and the sponge did not crack. I cut the ends off to show off that swirl and put it in the fridge to set. Before serving, I finished it off with powdered sugar and fresh raspberries.
I really enjoyed making this and was glad it wasn’t too hard. I now know how to make a curd and a buttercream. So far, my critics enjoyed it. My mother said the sponge was tasty, but a bit tough, so I might have over mixed it.
Next time I will do better! 😊

*The sponge was very thick, which is handy for rolling without cracks, but could have contributed to the “toughness”. Next time I will butter the pan before I put my parchment paper down and spread the sponge over the whole pan. I baked my sponge for a little bit longer than the recommended 14 minutes only because my oven temperature is off, which also could have contributed to the toughness. 
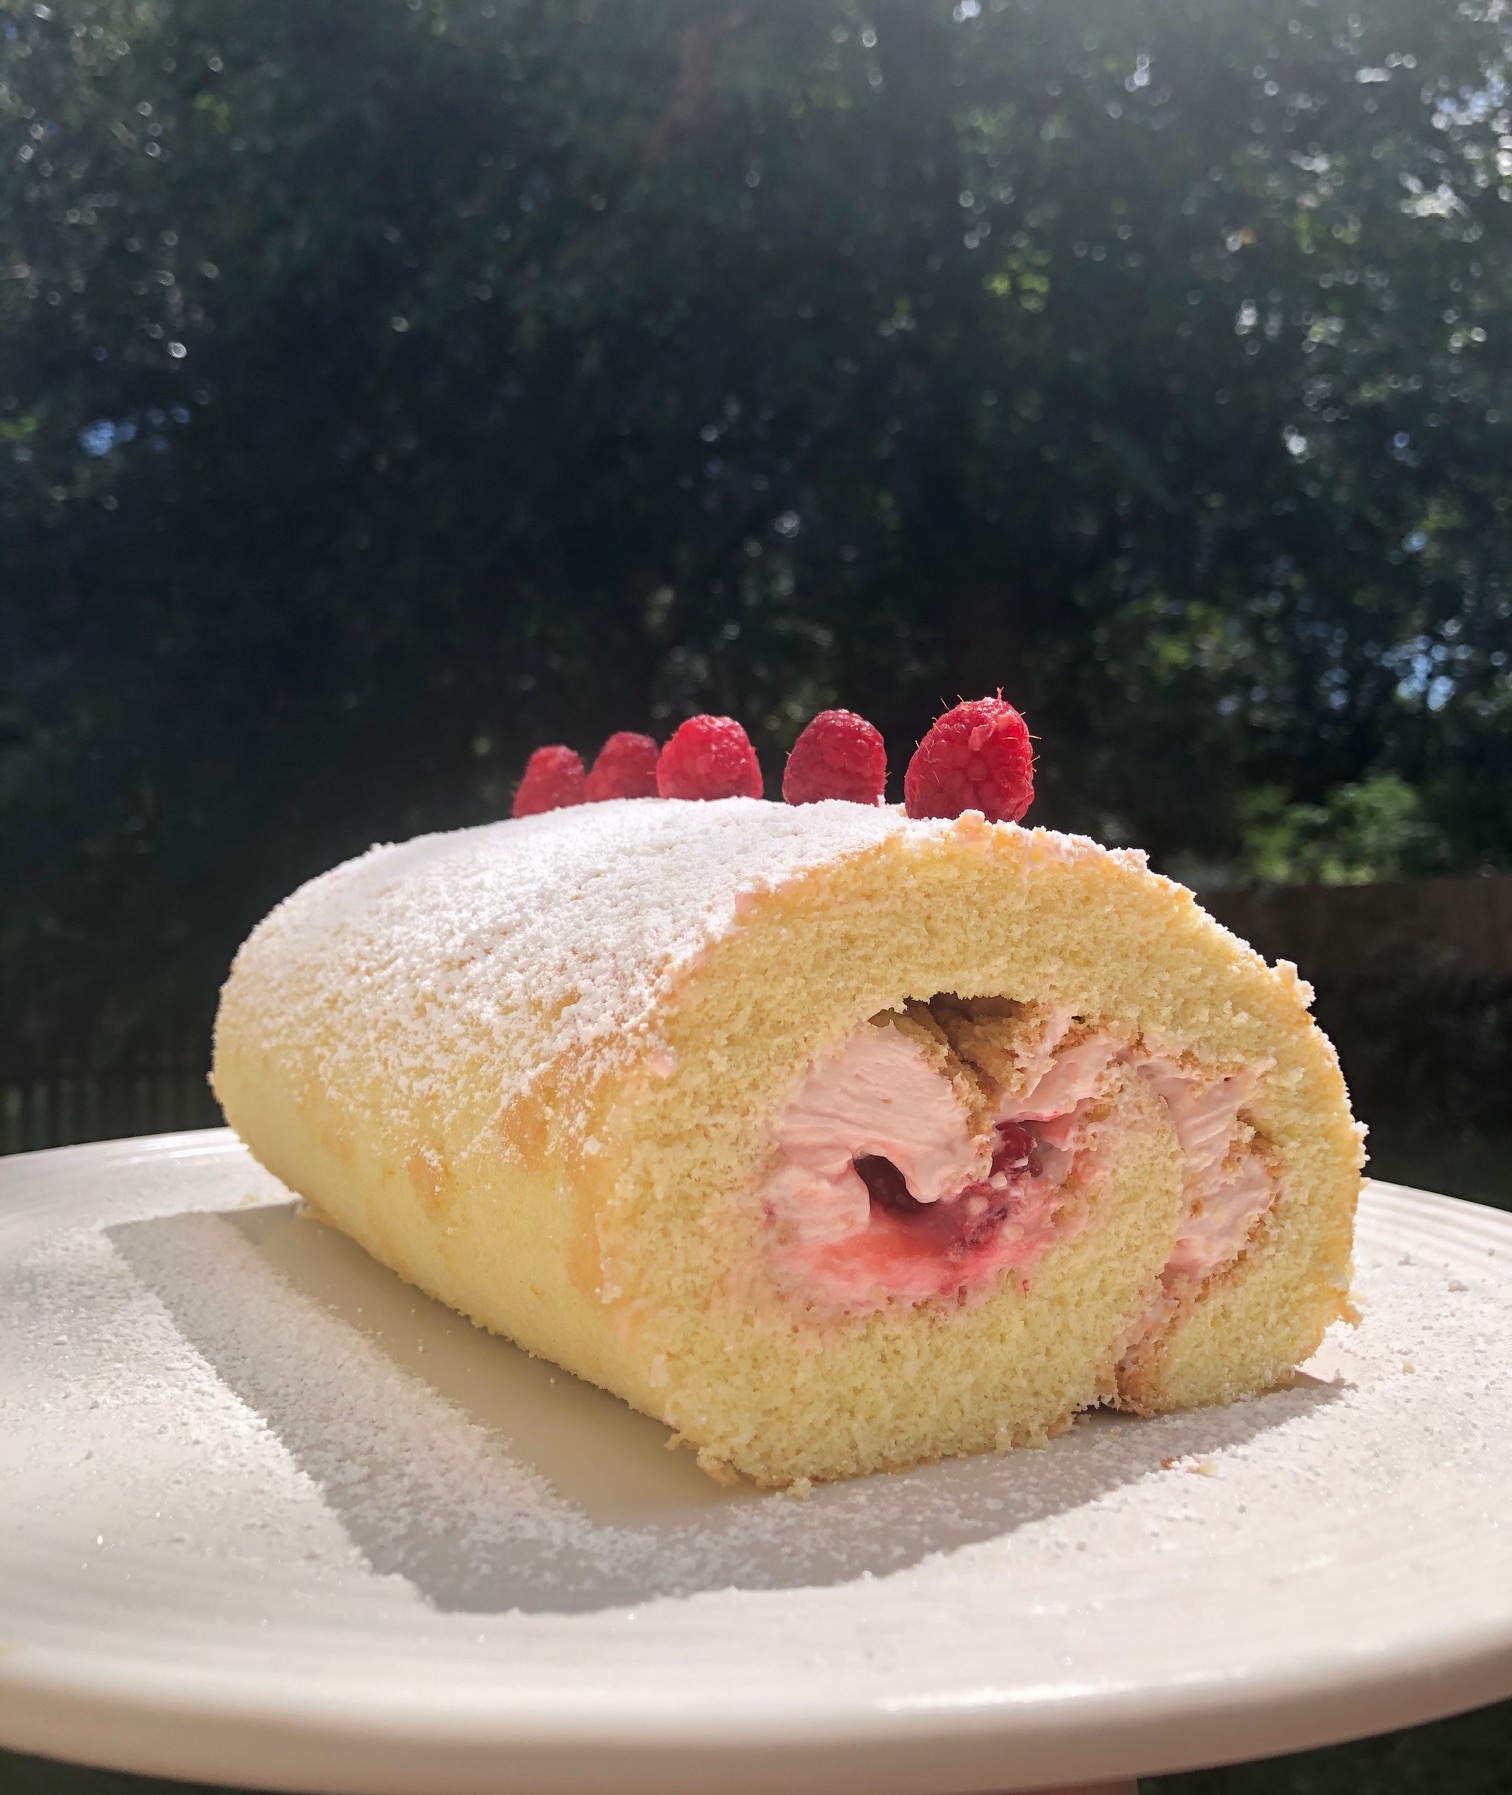
The Finished Product

Lemon Cake Roll with a Raspberry Curd Buttercream

Ingredients for Raspberry Curd

Blended and strained raspberries, lemon juice, lemon zest, sugar, eggs, and butter.

$29

Strained Curd

After strained, cover and into the fridge for two hours.

Lemon Sponge

Flour, sugar, eggs, vanilla extract, lemon extract, lemon zest, baking powder, and salt.

Finished Sponge

Golden brown and sprang back with a touch.

All Rolled Up

Rolling while warm has kept me from getting cracks in my sponge.

Time to Assemble

Sponge + Buttercream + Sprinkle of Curd + Fresh Raspberries

Ready for Final Roll

Be sure to keep filling even and not too much so it doesn't pour out the sides.